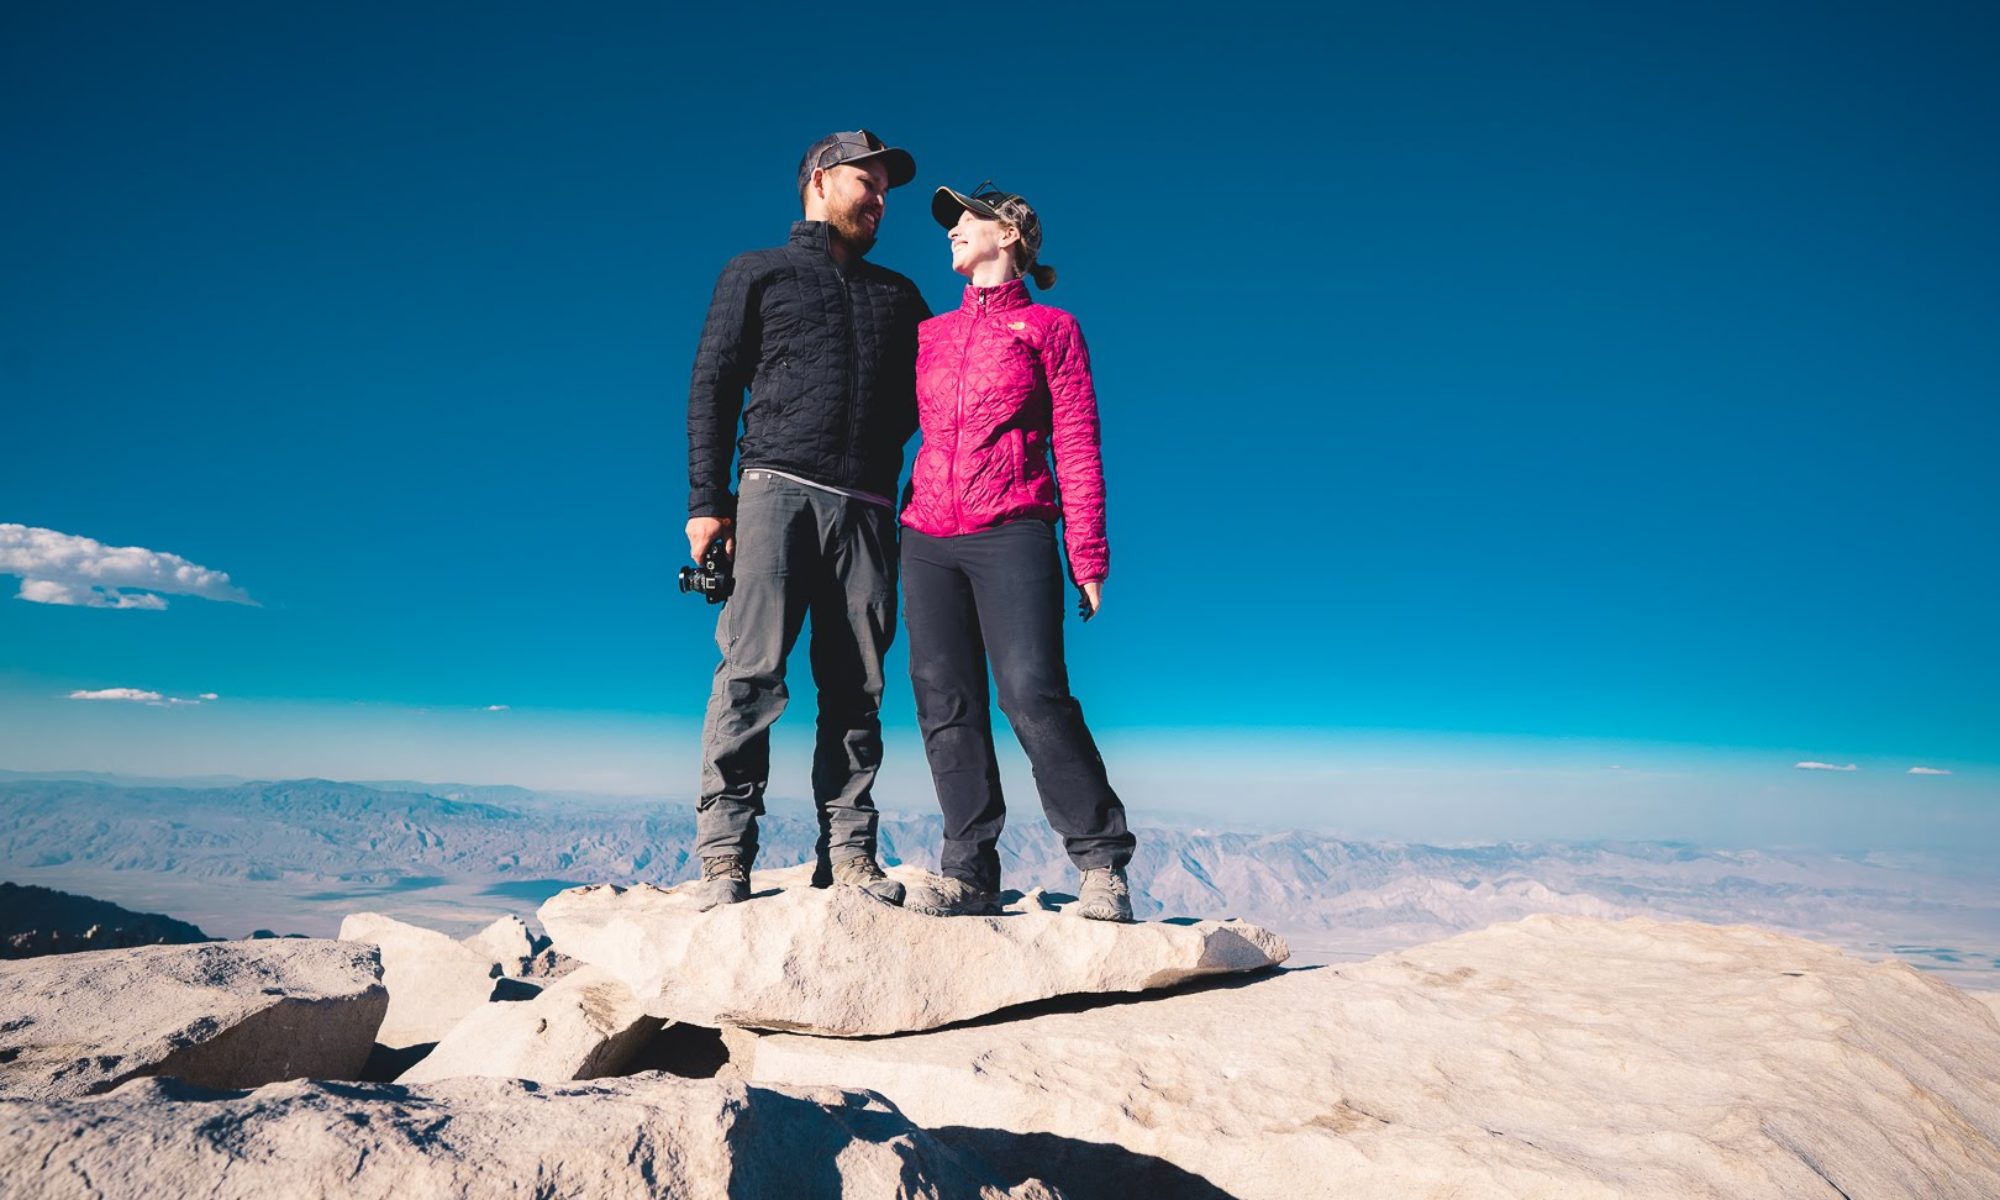

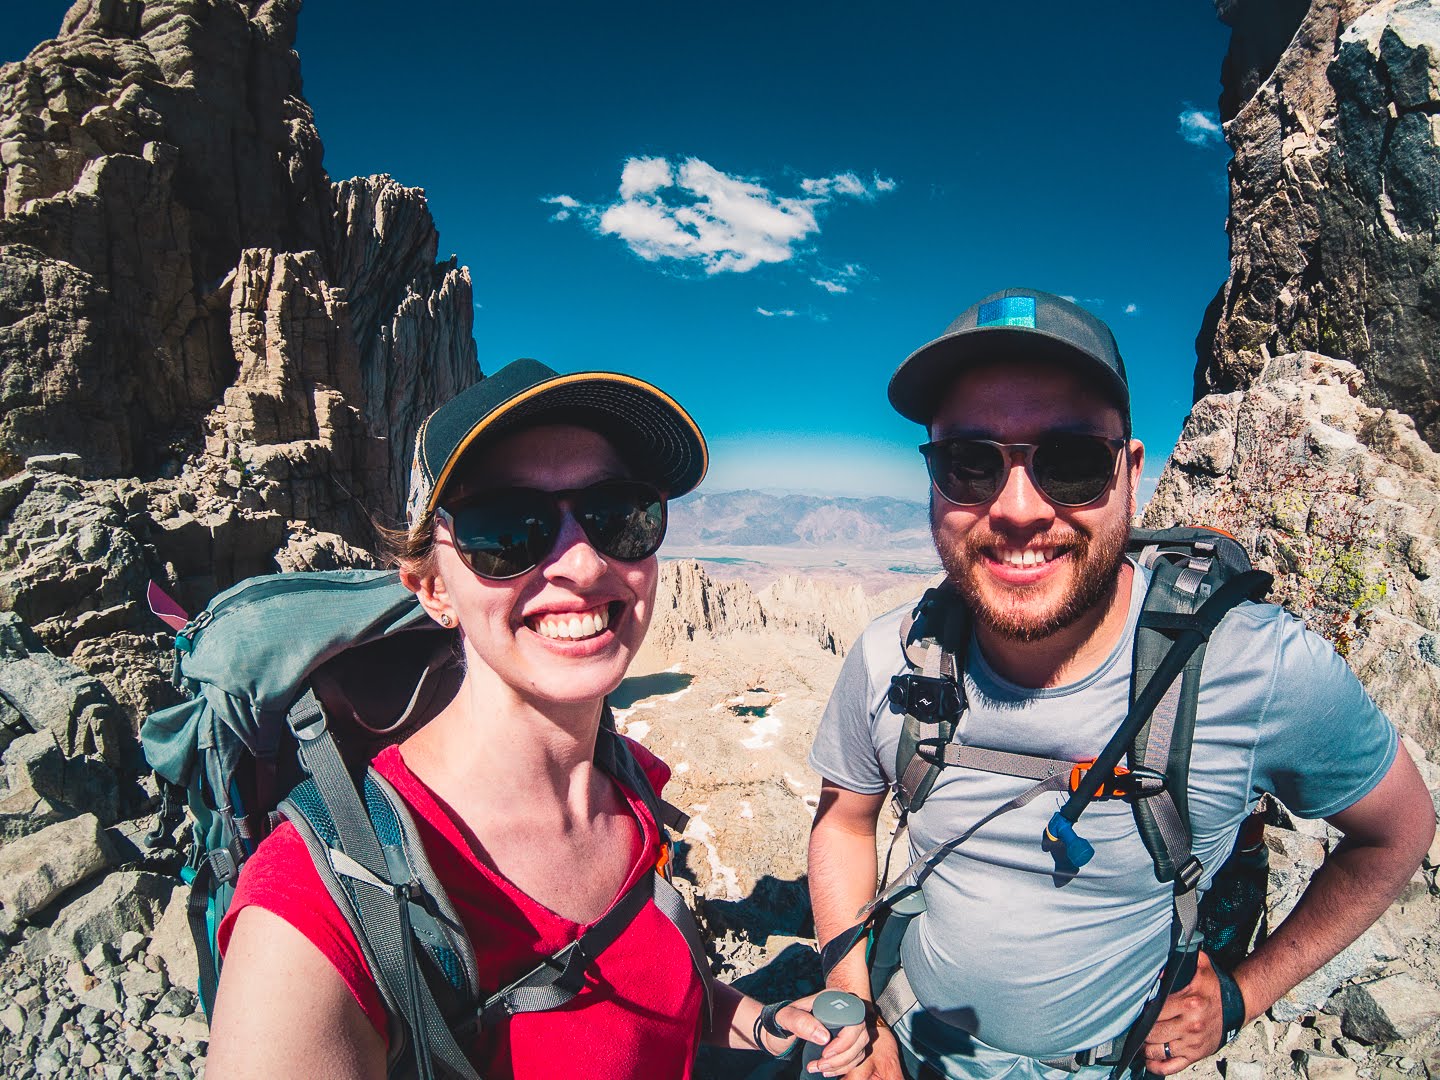
“You can summit Mt Whitney in a day,” they said. “It’s a class 1 hike,” they said.
Add to that the claim that it takes 10 hours to hike up at a “slow” pace, and you may start thinking the Mt Whitney hike is downright easy. But “easy” isn’t a word I would use to describe our hike to the tallest peak in the contiguous U.S. this July.
Want to know how long it really takes to hike Mt Whitney? — at least, if it’s your first time and you want to have some sort of enjoyable memory from your trek? — Read on for the scoop on our entire experience, from (finally) getting a Mt Whitney Trail permit to planning and executing our highest-elevation hike to date.

For the past few years, we’ve been entering the annual Mt Whitney Trail lottery, hoping to snag a coveted overnight summer hiking permit. Though we weren’t any luckier in this year’s lottery than years past, I was tired of waiting and considerably more determined. With a bit of schedule flexibility and some timely perseverance, I acquired the permit we needed for a multi-day Mt Whitney hike during one of the most popular months for summiting.
We had about two months to research and plan the most challenging hike we’ve ever done. Planning, schedule flexibility, a little shopping, and a lot of headache medicine were key to our successful summit on July 6th of this year.
The Lottery: Losing Doesn’t Mean Defeat
How to Get a Mt Whitney Permit After Losing the Lottery
Reading this year’s Mt Whitney Trail Lottery fine print, I learned that winners were required to accept or decline their dates by April 30th. Any declined permits would be released to the public as they were declined, and any that went unclaimed by the deadline would be released at random times on May 1st. I set a reminder to start checking for openings during the week leading up to April 30th, and on April 25th, 2018 I actually managed to book not one, but TWO separate overnight permits for the 2018 season on the Mt Whitney Trail.
The first overnight permit availability that appeared was for 2 people in mid October — not ideal, but at least it was something, so I bought the reservation. Then, twenty minutes later, three spots opened up on July 5th, and I quickly reserved those, too. July or August was what we’d really wanted, since snow on the trail is less likely in those months, and we’d save October as a back-up plan if our summit attempt was unsuccessful in July.
Planning Our Itinerary
How Long Does it Take to Hike Mt Whitney?
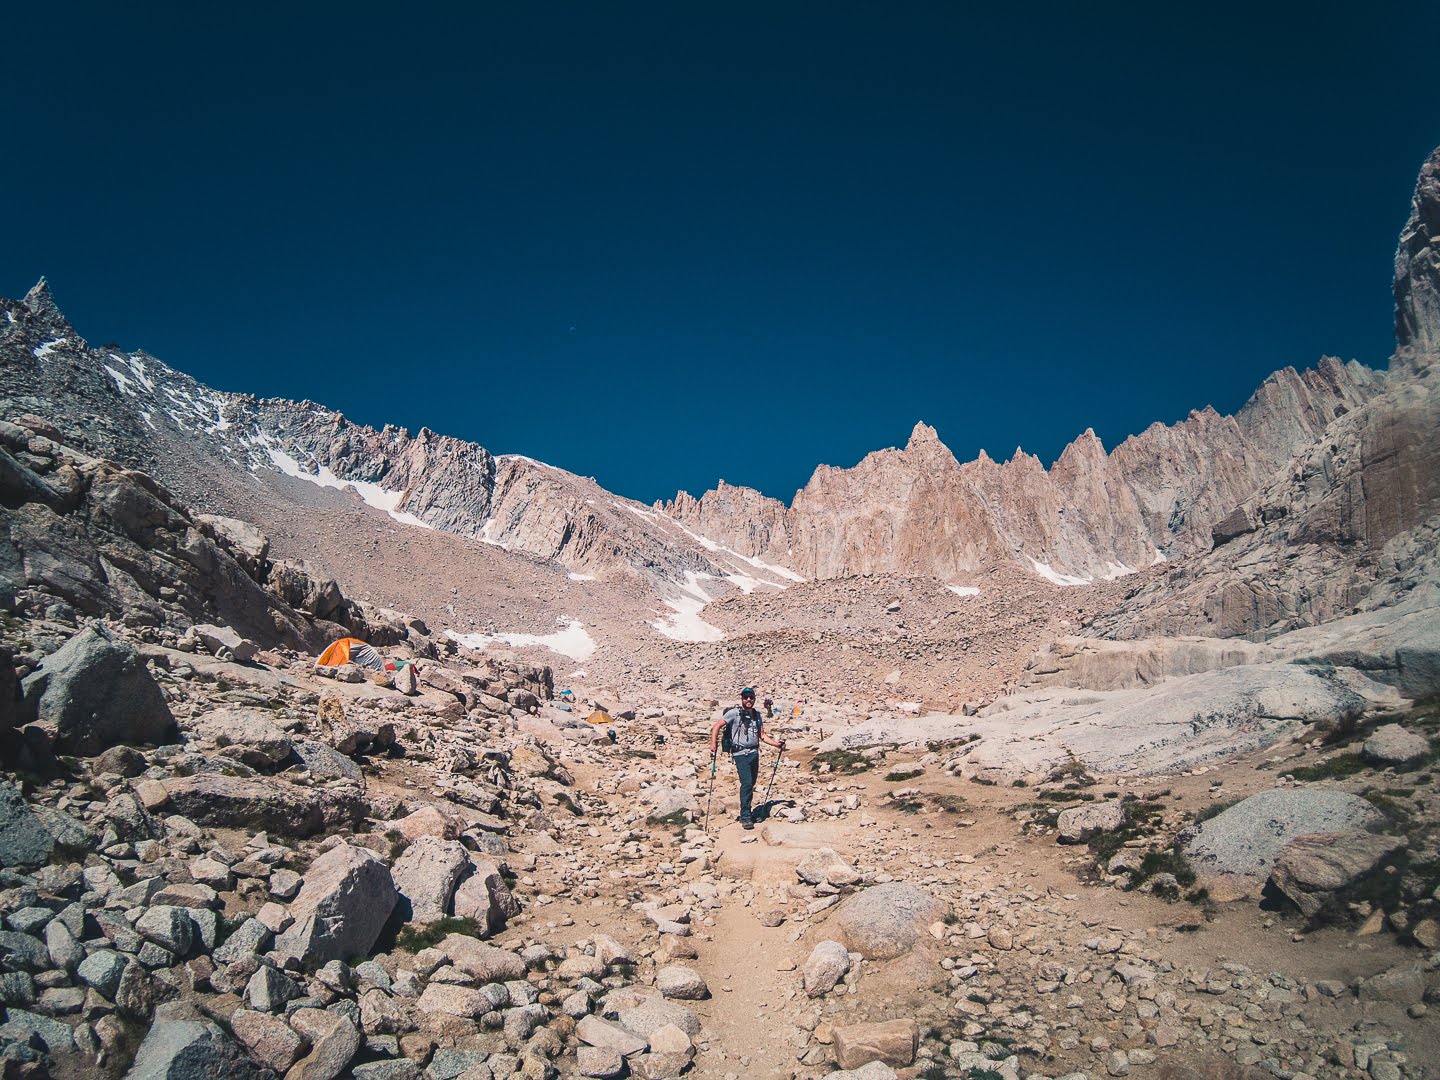
To summit Mt Whitney from the Whitney Portal parking lot (via the Mt Whitney Trail), you’re in for a 22-mile round-trip hike.
We did the hike in 3 days. If you’re really determined to summit, I’d actually recommend that you plan for 4 so you’ll have some flexibility on when you summit, in case the weather gets bad or you’re affected by altitude sickness.
Yes, there are people who hike Mt Whitney in one day, but that’s not what we’d recommend — nor what we’d do if we hiked it again — especially if it’s your first time doing this hike.
Day Hiking Mt Whitney
If you’re absolutely determined to try the hike in one day (i.e. that’s the only permit you could get), you’ll need to plan well, note that altitude acclimation is essential (so you still need to plan multiple days for the entire trip), and gear up for a faster-paced hike (trekking poles, anyone?)
If you don’t believe me, check out this veteran day-hiker’s recommendation for a 5-day “day hike” plan.
The Benefits of a Multi-Day Trek
There are loads of reasons an overnight permit is better than a day hike. Here are a few highlights:
- Multiple nights are allowed on an overnight permit — not just one!
- You can hike slower and not worry about stopping to rest if you start to experience symptoms of altitude sickness.
- You’ll be more prepared for anything, since you’re packing overnight gear, which means a better chance of summiting.
- With more time to enjoy the scenery and take photos, you’re in for a more memorable trip.
- You can pack more since you don’t have to carry everything the whole way. (Your pack may be heavier for the start of the hike, but once you set up camp, your load to the summit will be much lighter.)
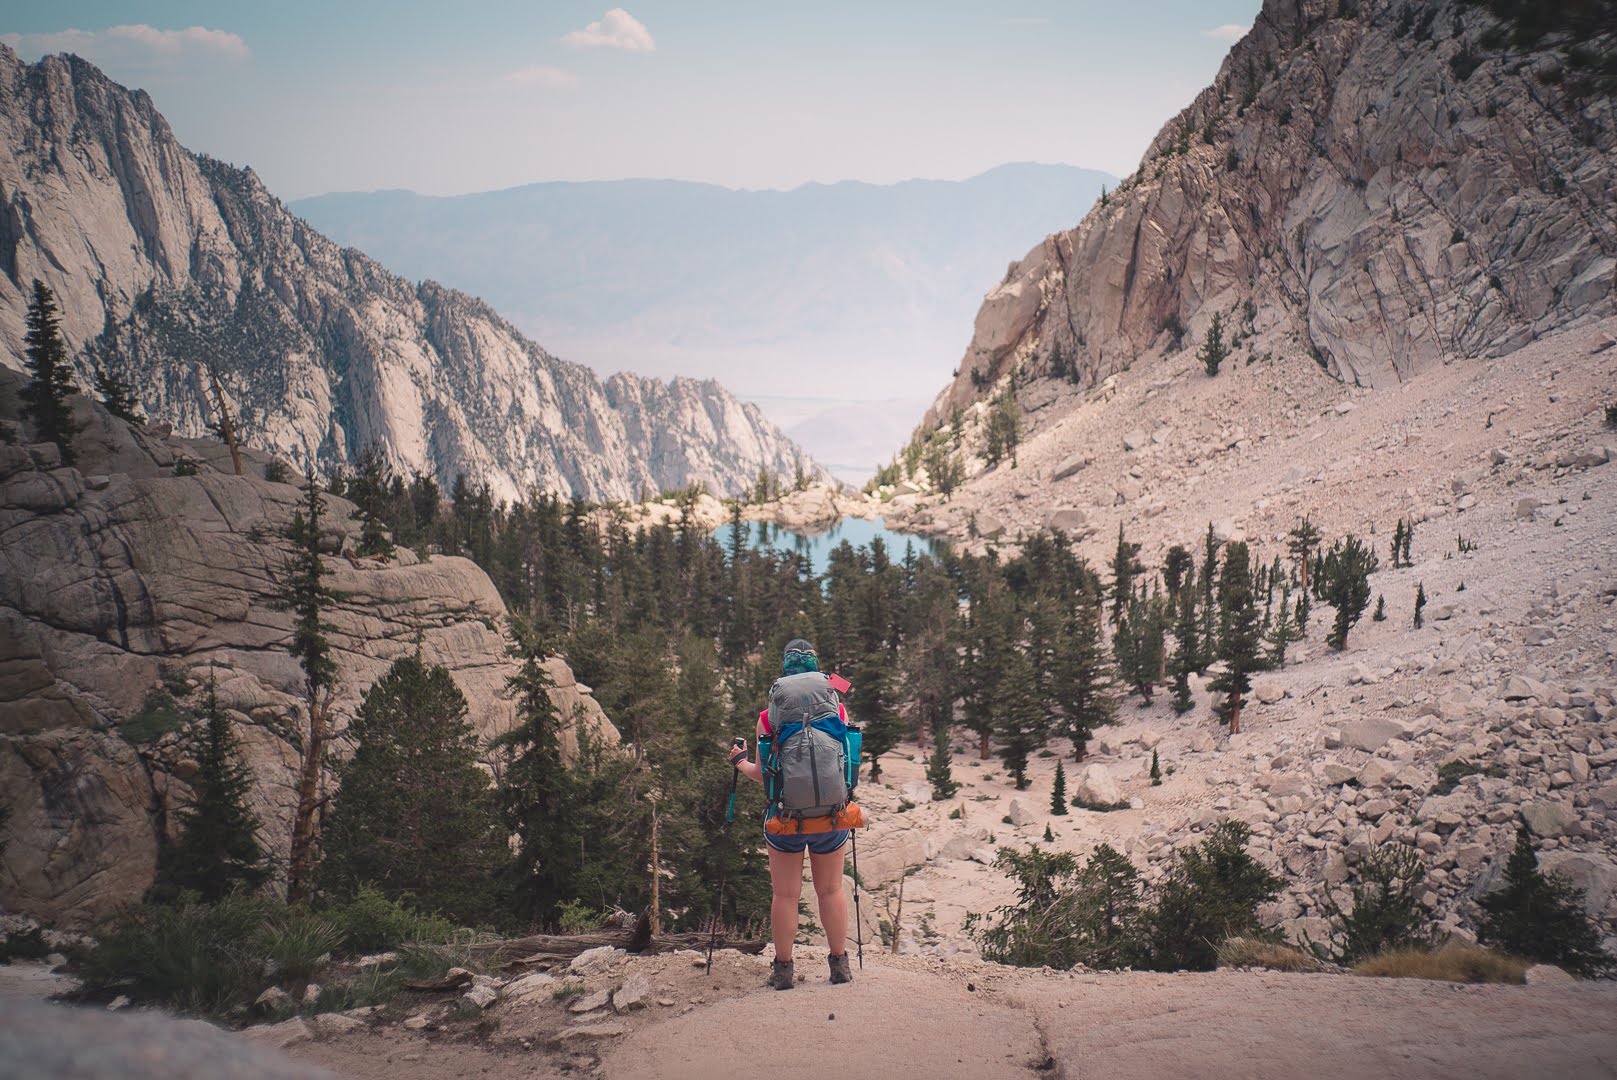
Where to Camp on the Mt Whitney Trail
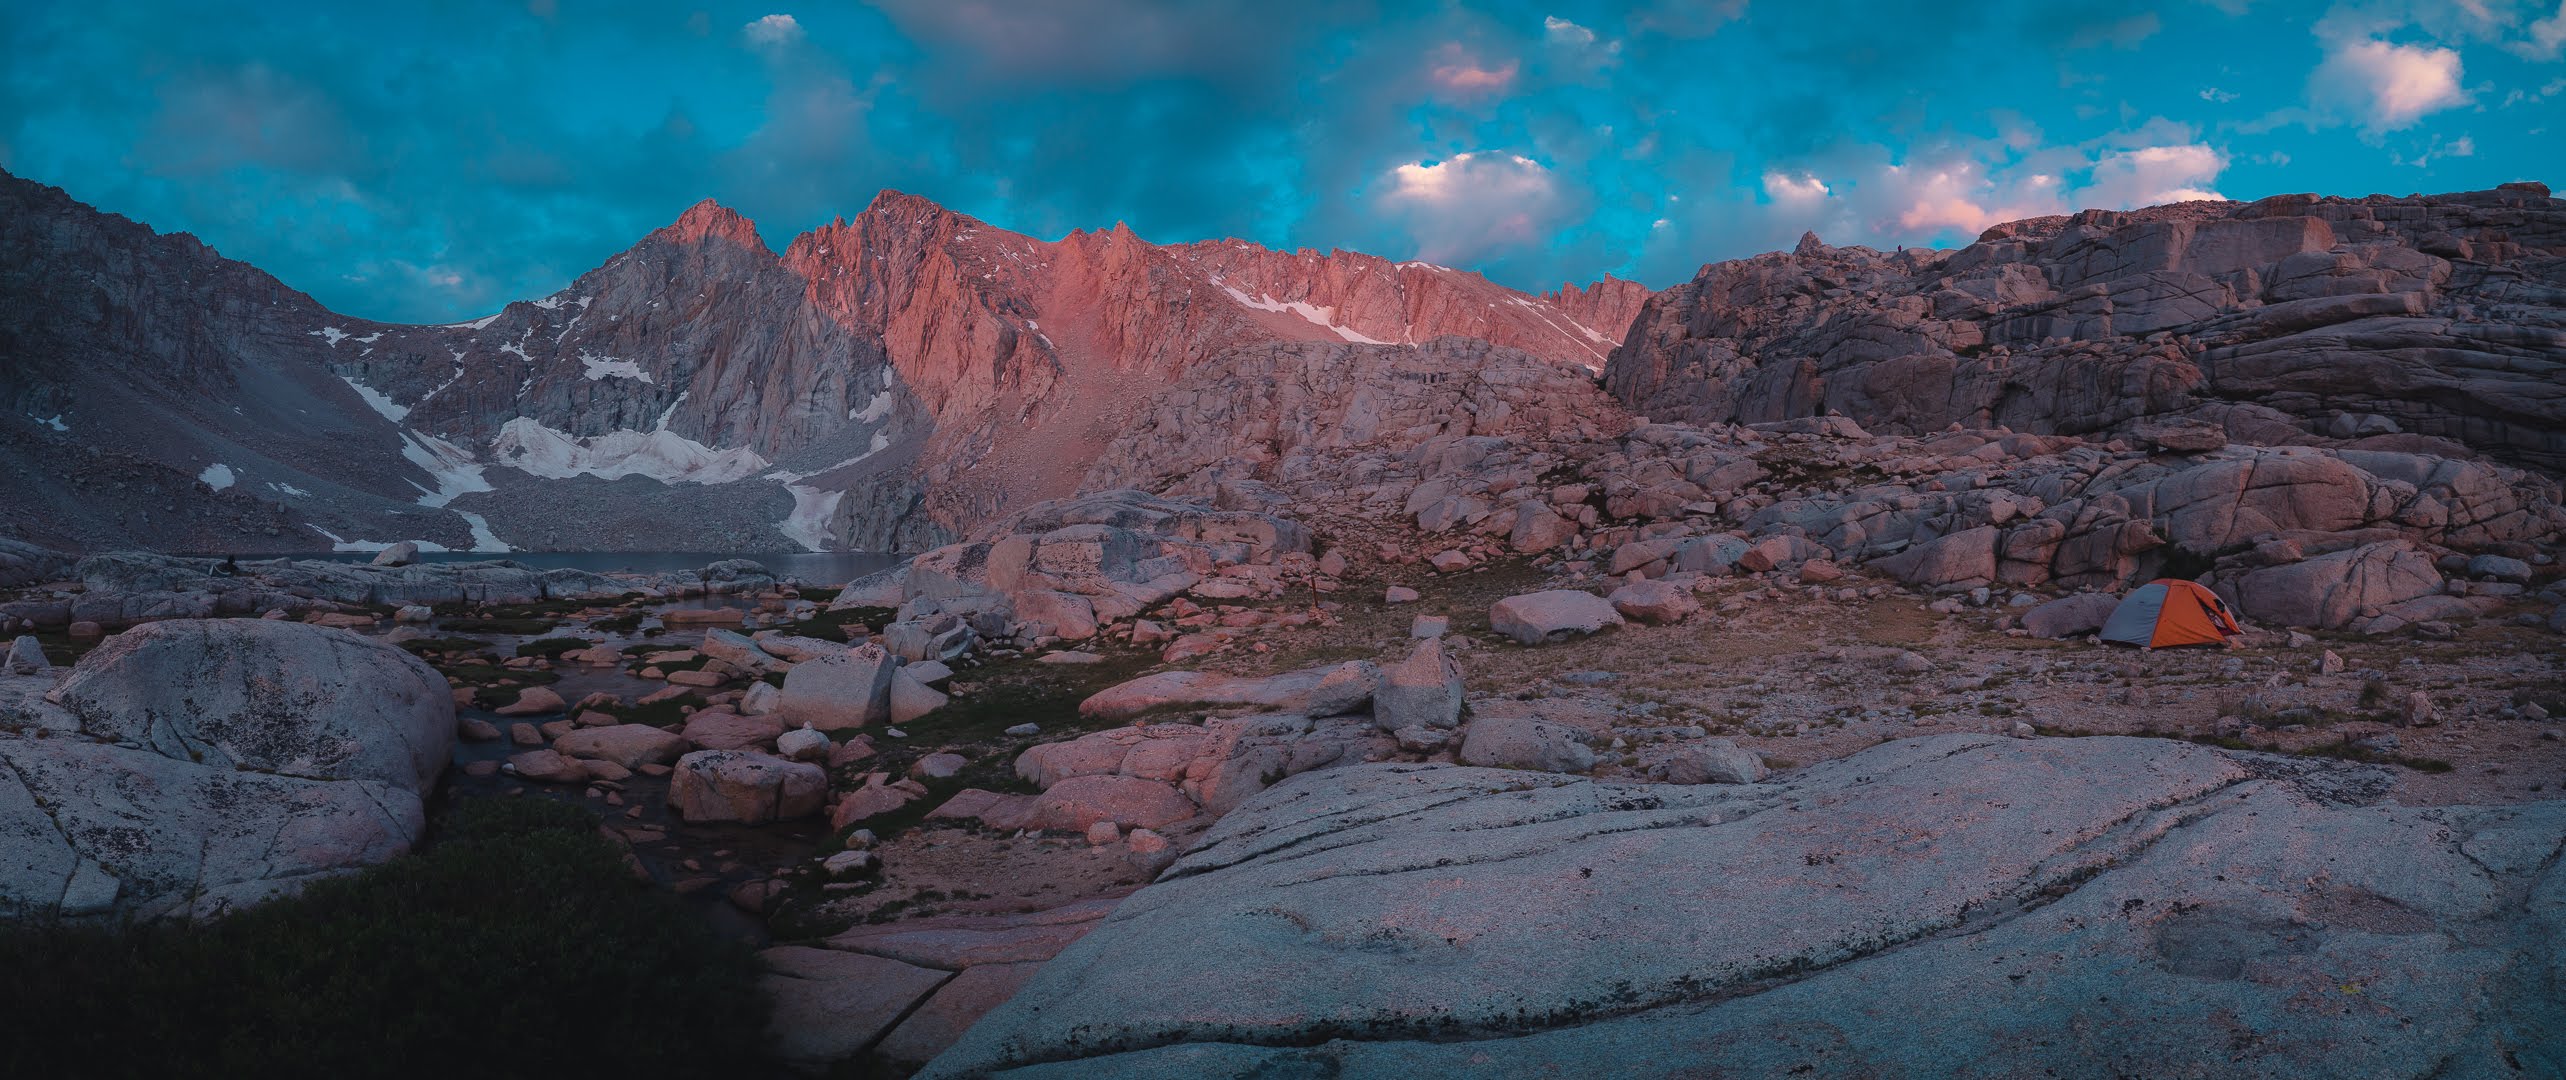
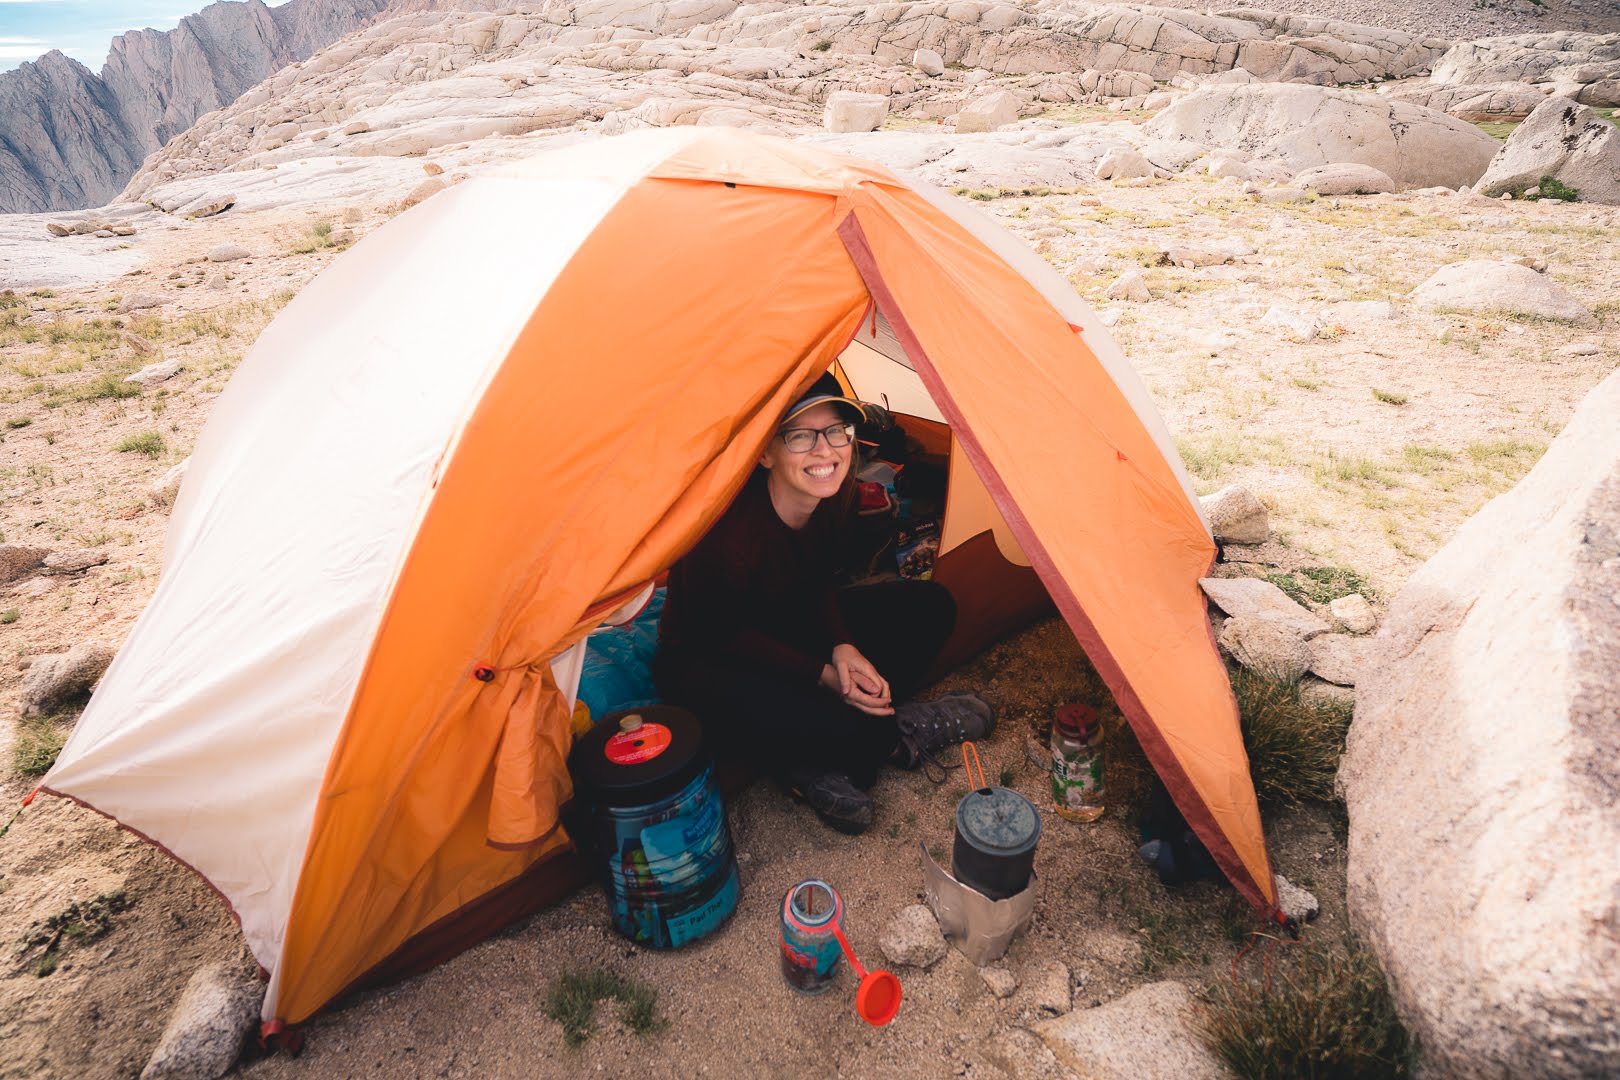
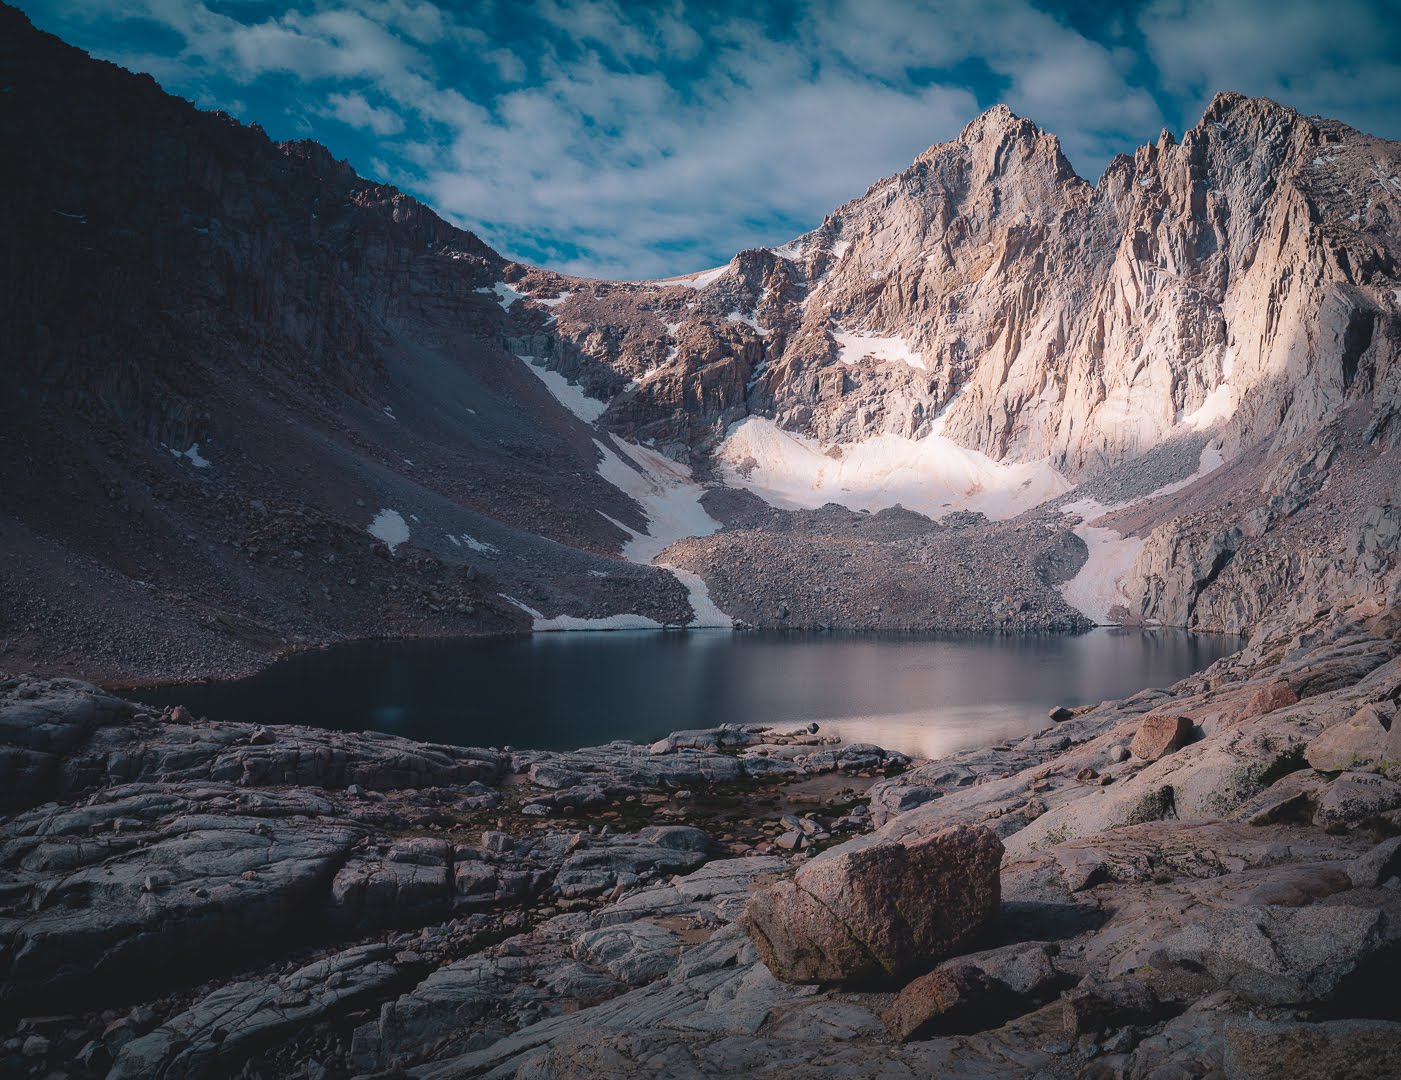
We camped in the same spot for 3 nights at Consultation Lake, on a very flexible schedule. Trail Camp is the most popular and convenient camping option.
Camping at Consultation Lake was considerably less crowded than Trail Camp, located a short ways before Trail Camp along the Mt Whitney Trail. We had a nice time camping down at lake level, but the path from the main trail to Consultation Lake isn’t obvious, and we did spend extra time (about 45 minutes to an hour the first two days) figuring out how to get down to and back up from the lake.
A word of warning, if you do head down to the lake: be sure to find a legitimate campsite (100 ft from the lake). You’re required to camp only in spots where others have camped before, but beware of “established” campsites that are too close to the water. Setting up camp too close to water can lead to fines, and moving your camp would require extra time and energy that you won’t have.
If you’re pressed for time or simply don’t want to do any extra hiking, I’d recommend camping on the terraced cliffs above Consultation Lake — there are several obvious campsites not far off the trail here — or just head onward to Trail Camp instead.
Let’s Get Real: Extending Our Permit
When I made the initial reservation, I wasn’t sure how many days we’d need to complete the hike, so I’d entered an exit date of July 6th (one night).
Luckily, however, your itinerary is editable if you have an overnight permit. You can change just about everything except the group leader and your entry date (though some changes, like group size, are subject to availability).
A few days before our entry date, we’d been so busy with traveling that we’d done less advance preparation than we’d hoped. Since we didn’t have time to complete any “acclimation hikes” to get our bodies used to the higher altitude (you’ll find many experienced hikers will recommend this), we decided to plan a slower itinerary. We would hike at a slower pace and acclimate as we went.
Two days before our trip I confirmed our group size (required) and itinerary online. I adjusted our itinerary to three nights instead of one, changed our group size to two hikers instead of three, and I confirmed Consultation Lake as our planned camping location for all three nights. (From what I’ve read, exit date and camping itinerary is still adjustable at the time you pick up your permit.)
Be sure to review the Mt Whitney Trail permit pickup instructions as you’re planning your trek. If you have a permit reservation, check your confirmation email for more details as well.
When I made my permit changes online two days before our trip, I did pay a “Use Fee Penalty” which came out to an extra $15. I’m still not exactly sure what this charge was for (our adjusted fees receipt listed 2 @ $15/person, plus $30 use fee penalty, plus $10 reservation fee, for a total of $70 instead of $55 for our original reservation), but I imagine it was due to reducing our group size at the last minute, which seemed fair so I didn’t question it.
We’d decided to start the hike as many overnight permit holders do, departing in the morning and hiking up to (or near) Trail Camp on Day 1. If all was going well, we’d summit on Day 2, camp again that night, and hike out on Day 3. If we needed an extra day, to allow more time for altitude acclimation or for bad weather to pass, our permit would have us covered.
Our Planned Itinerary
Day 1: Whitney Portal to Consultation Lake (near/before Trail Camp)
Day 2: Consultation Lake to Summit and Return
Day 3: Consultation Lake to Whitney Portal
Day 4: Extra Day (optional, if needed)

Our Mt Whitney Hiking Experience
Despite headaches slowing us down significantly, we did summit on Day 2, as planned. Here’s how our hike actually went:
Our Executed Itinerary
Day 1: Whitney Portal to Consultation Lake (near/before Trail Camp)
9.25 hrs ascending / 3.4k ft elevation gain / 7:30am – 4:45pm
- Whitney Portal Trailhead – 8.4k ft: 7:30am
- Lone Pine Lake: 10:30am*
- Outpost Camp: 12pm
- Trailside Meadow: 3:15pm
- Consultation Lake – trail level – 11.8k ft: 4:45pm
*We left the main trail to follow the sign to Lone Pine Lake. We could have saved about 15-20 minutes by skipping it, but the lake is pretty — a nice place to stop and rest.
1 hr descending / 4:45pm – 5:45pm*
- Consultation Lake – lake level – 11.7k ft: 5:45pm
*We really wanted to camp at lake level, so we took extra time figuring out how to get down there. This would have taken only 10-15 minutes, instead of an hour, if we’d known where we were going.
Day 2: Consultation Lake to Summit and Return to Consultation Lake
8.75 hrs ascending / 2.8k ft elevation gain / 9:15am – 6pm
- Consultation Lake – lake level – 11.7k ft: 9:15am
- Consultation Lake – trail level: 10am*
- Trail Camp – 12k ft: 10:15am
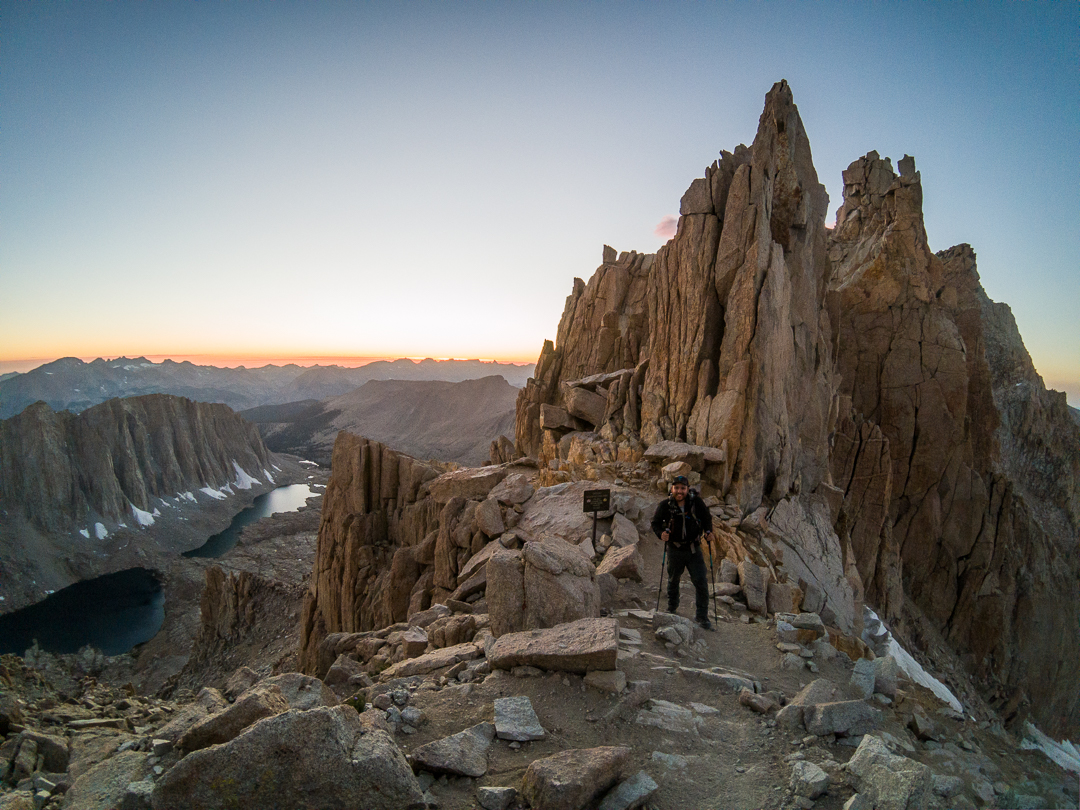
- Trail Crest – 13.6k ft: 2:45pm
- Mt Whitney Summit – 14.5k ft: 6pm – 7pm
*Getting from the lake to the trail should have taken only 15-20 minutes, instead of 45, again if we’d known where we were going.
8 hrs descending / 7pm – 3am
- Trail Crest: 8:30pm
- Trail Camp: 1:45am*
- Consultation Lake (lake level): 3am
*Despite the descent, this took longer because we were hiking carefully with headlamps in the dark.
Day 3: Photography and Rest Day at Consultation Lake
0 hrs hiking
Day 4: Consultation Lake to Whitney Portal
5 hrs descending / 8am – 1pm
- Consultation Lake – lake level: 8am
- Consultation Lake – trail level: 8:20am
- Trailside Meadow: 9am
- Outpost Camp: 10:30am
- Lone Pine Lake: 11am
- Whitney Portal Trailhead: 1pm
Deep Breaths and Baby Steps: The Art of Hiking Slowly
Though we managed to summit on Day 2, our trek wasn’t without issue. Ian experienced headaches that slowed our pace on Day 1, and I experienced intermittent (and for a short time, severe) headaches on Day 2 onward.
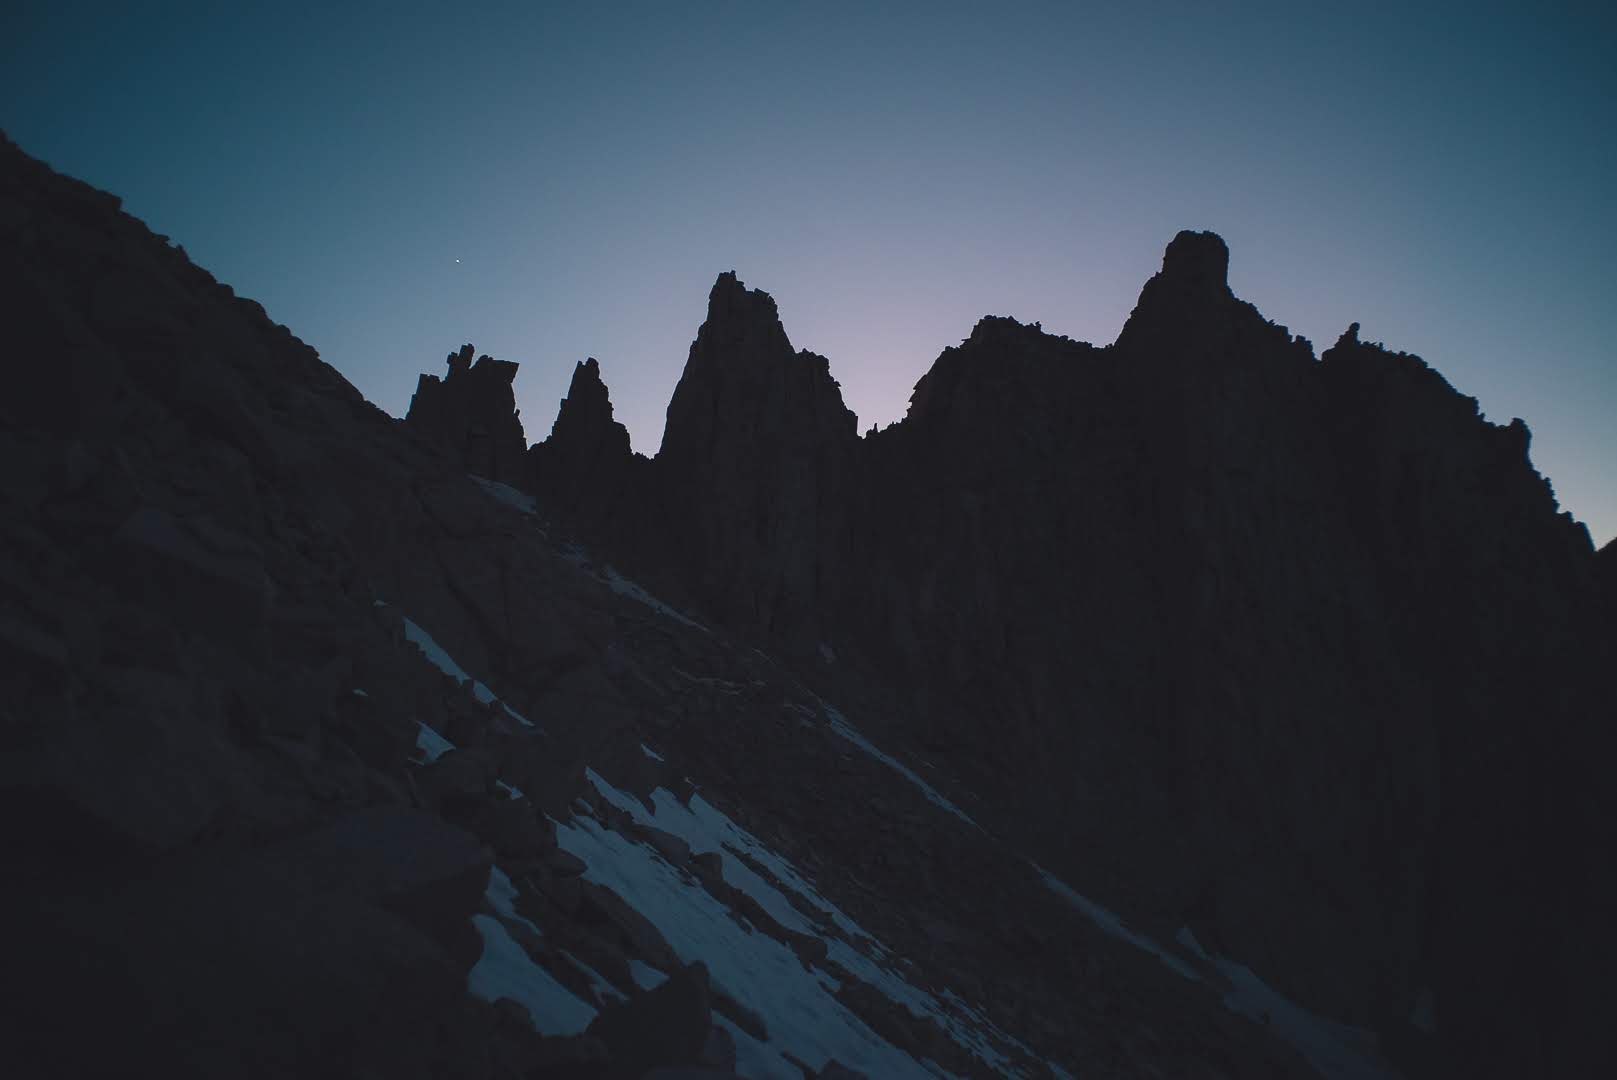
In fact, it took us so long to summit on Day 2 that sunset was fast approaching and we were the last hikers of the day at the top. We’d be descending the 99 Switchbacks almost entirely in the dark, but we were both happy to have made it and eager to be headed down. We decided to take a rest/photography day on Day 3 and finish the hike down from our camp on Day 4.
Reaching the Summit
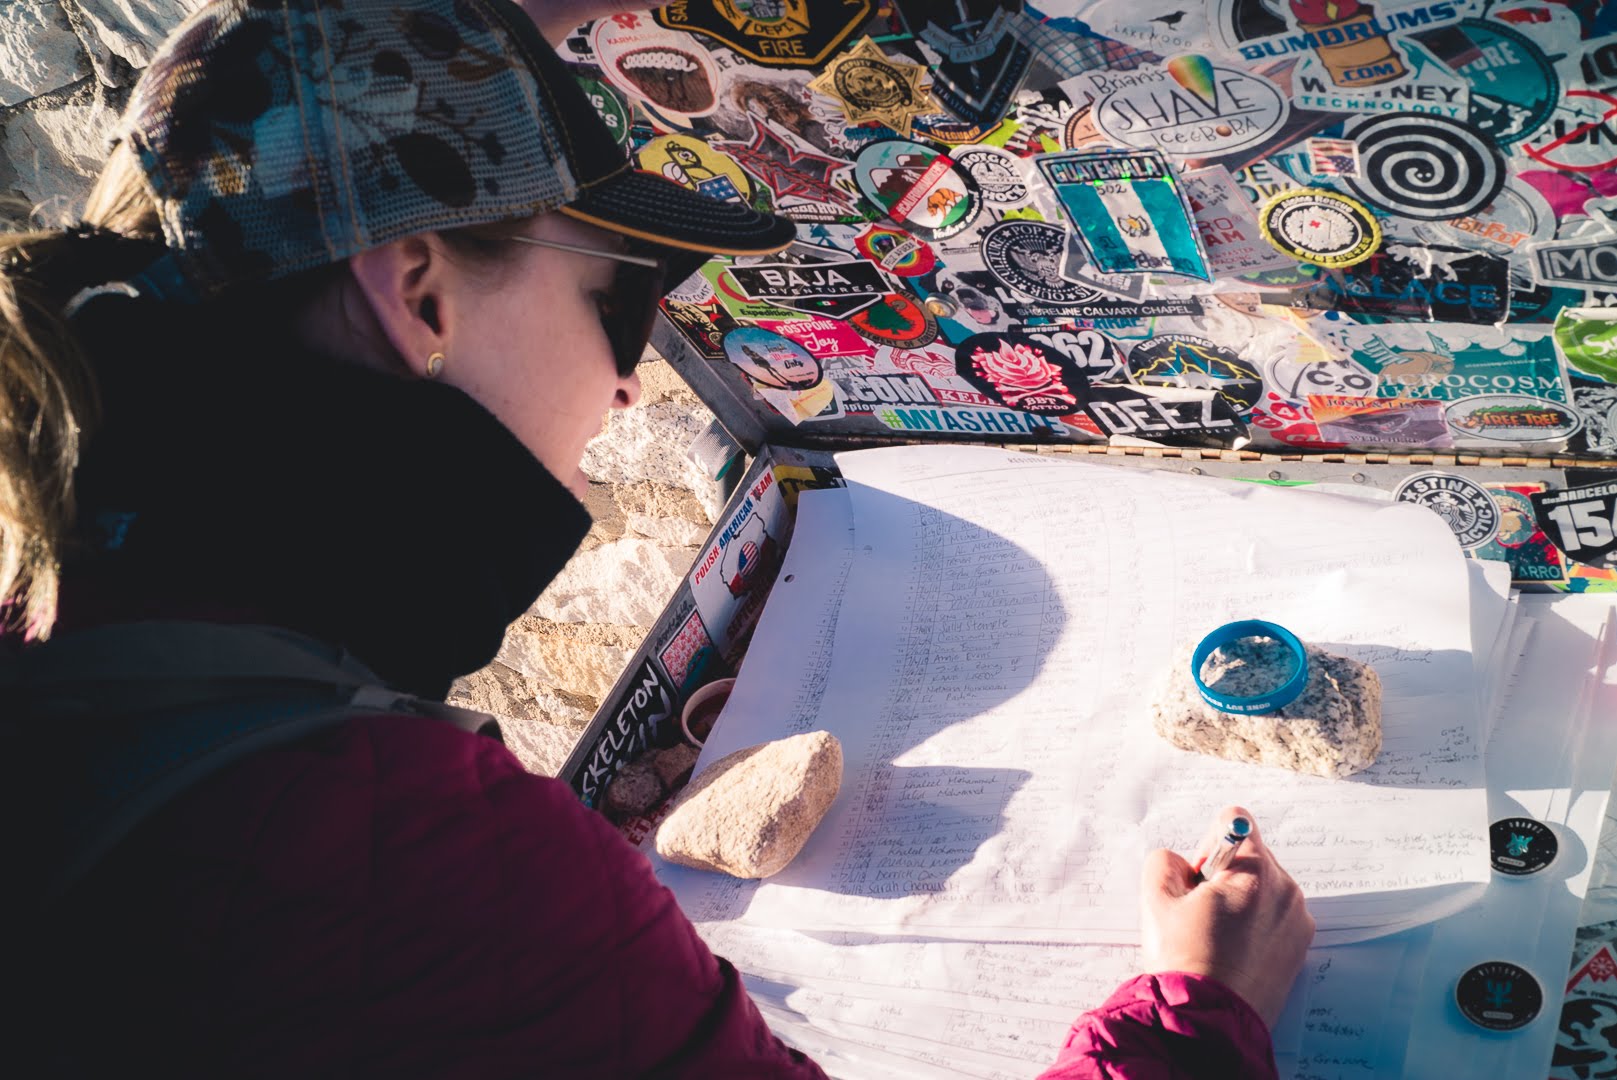
Although our planning and execution for our Mt Whitney hike was far from perfect, reaching the summit felt like a true victory. We spent a full hour enjoying the top.
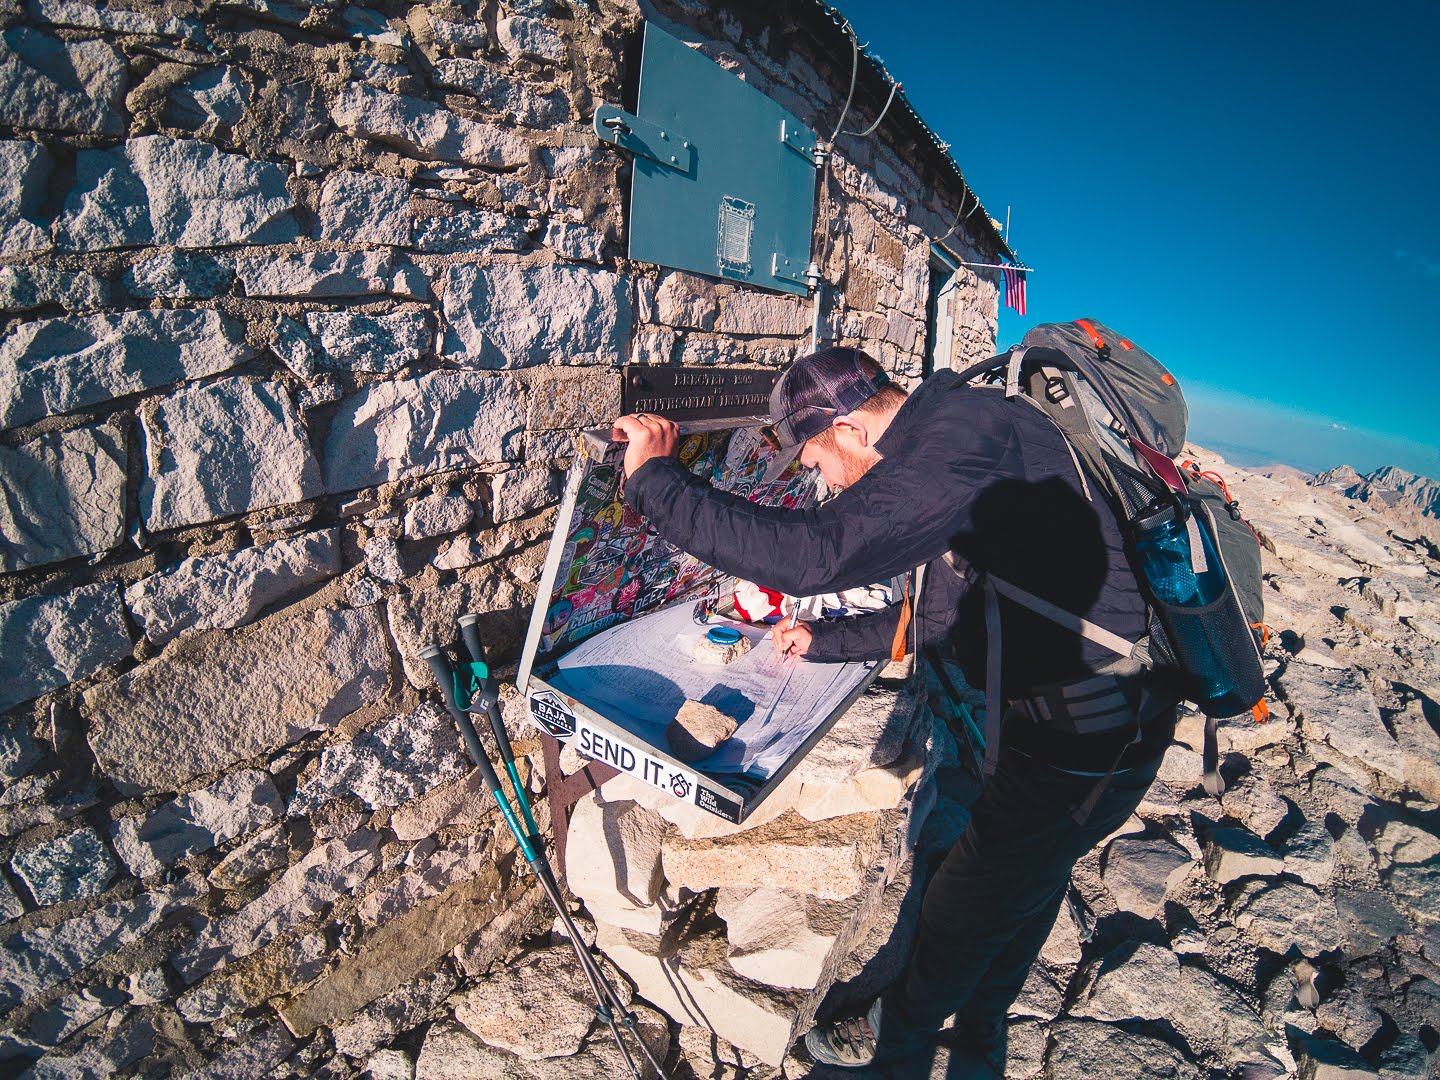
We called our parents to check in (there’s cell service at the top), set up a tripod to take some photos of us together, and both signed the guestbook before we bundled up for the long trek down. We had a lengthy hike back to camp ahead of us, but we’d come prepared.
With warm clothes on, headlamps ready, and the promise of descent, having half of the road still ahead of us didn’t seem too bad at all.
Wildlife on Mt Whitney
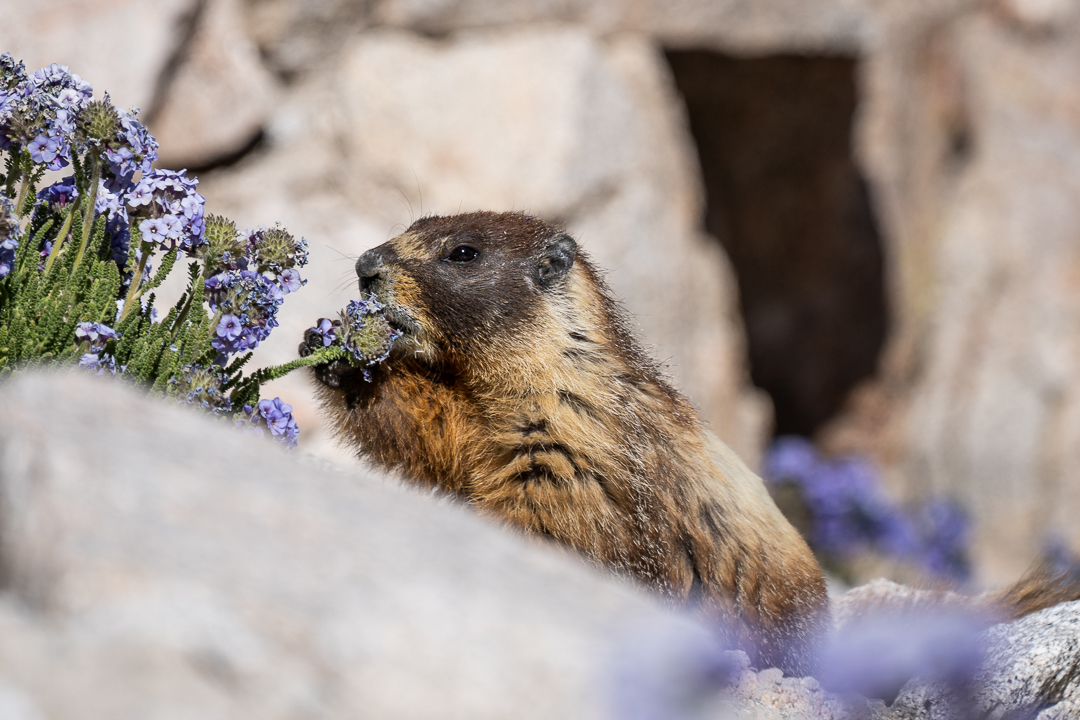
In addition to a plethora of colorful wildflowers throughout the hike, there was a fair amount of animal life to see as well.
My severe headache moments occurred when I’d unintentionally hold my breath while using my telephoto lens to photograph wildlife. We spotted marmots several times throughout our trek, both along the trail and around Consultation Lake where we camped.

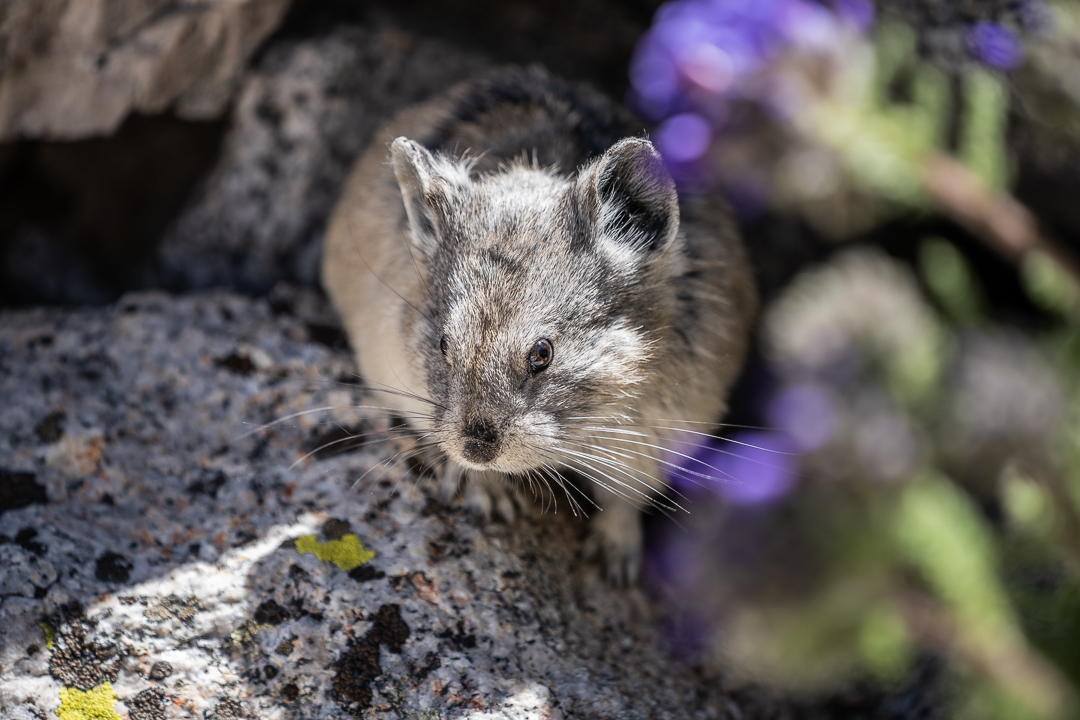
We also had a new wildlife sighting and spotted a pika somewhere along the 99 Switchbacks!
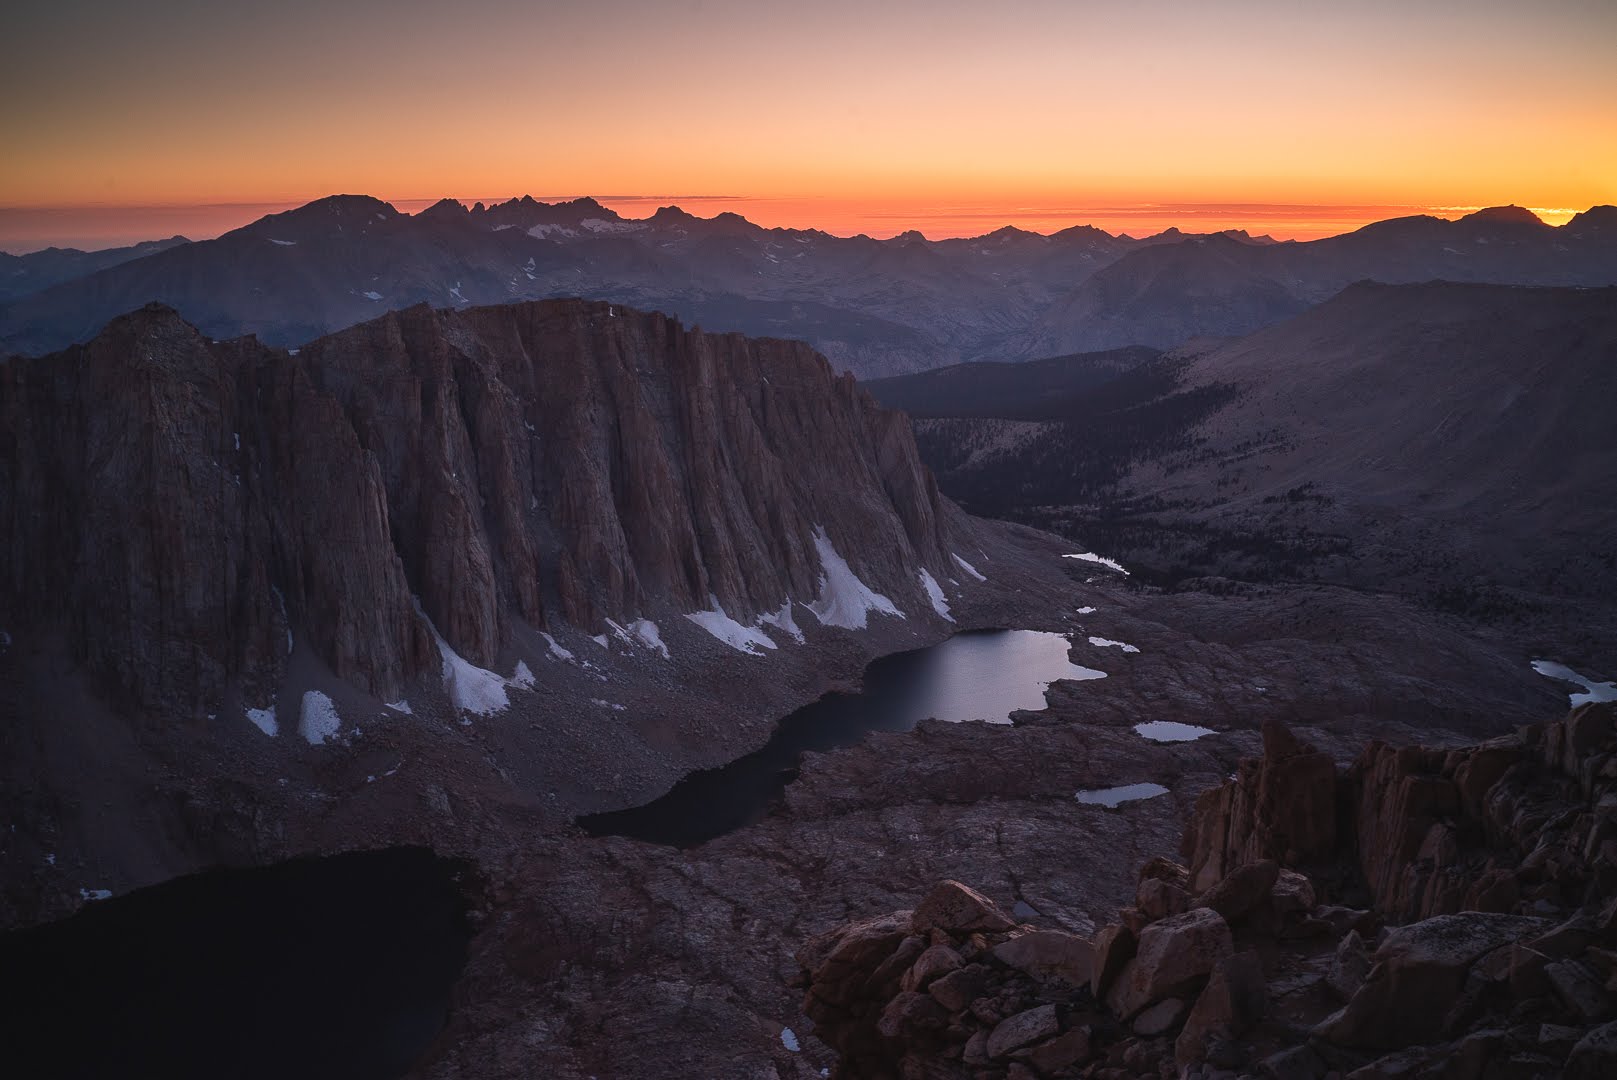
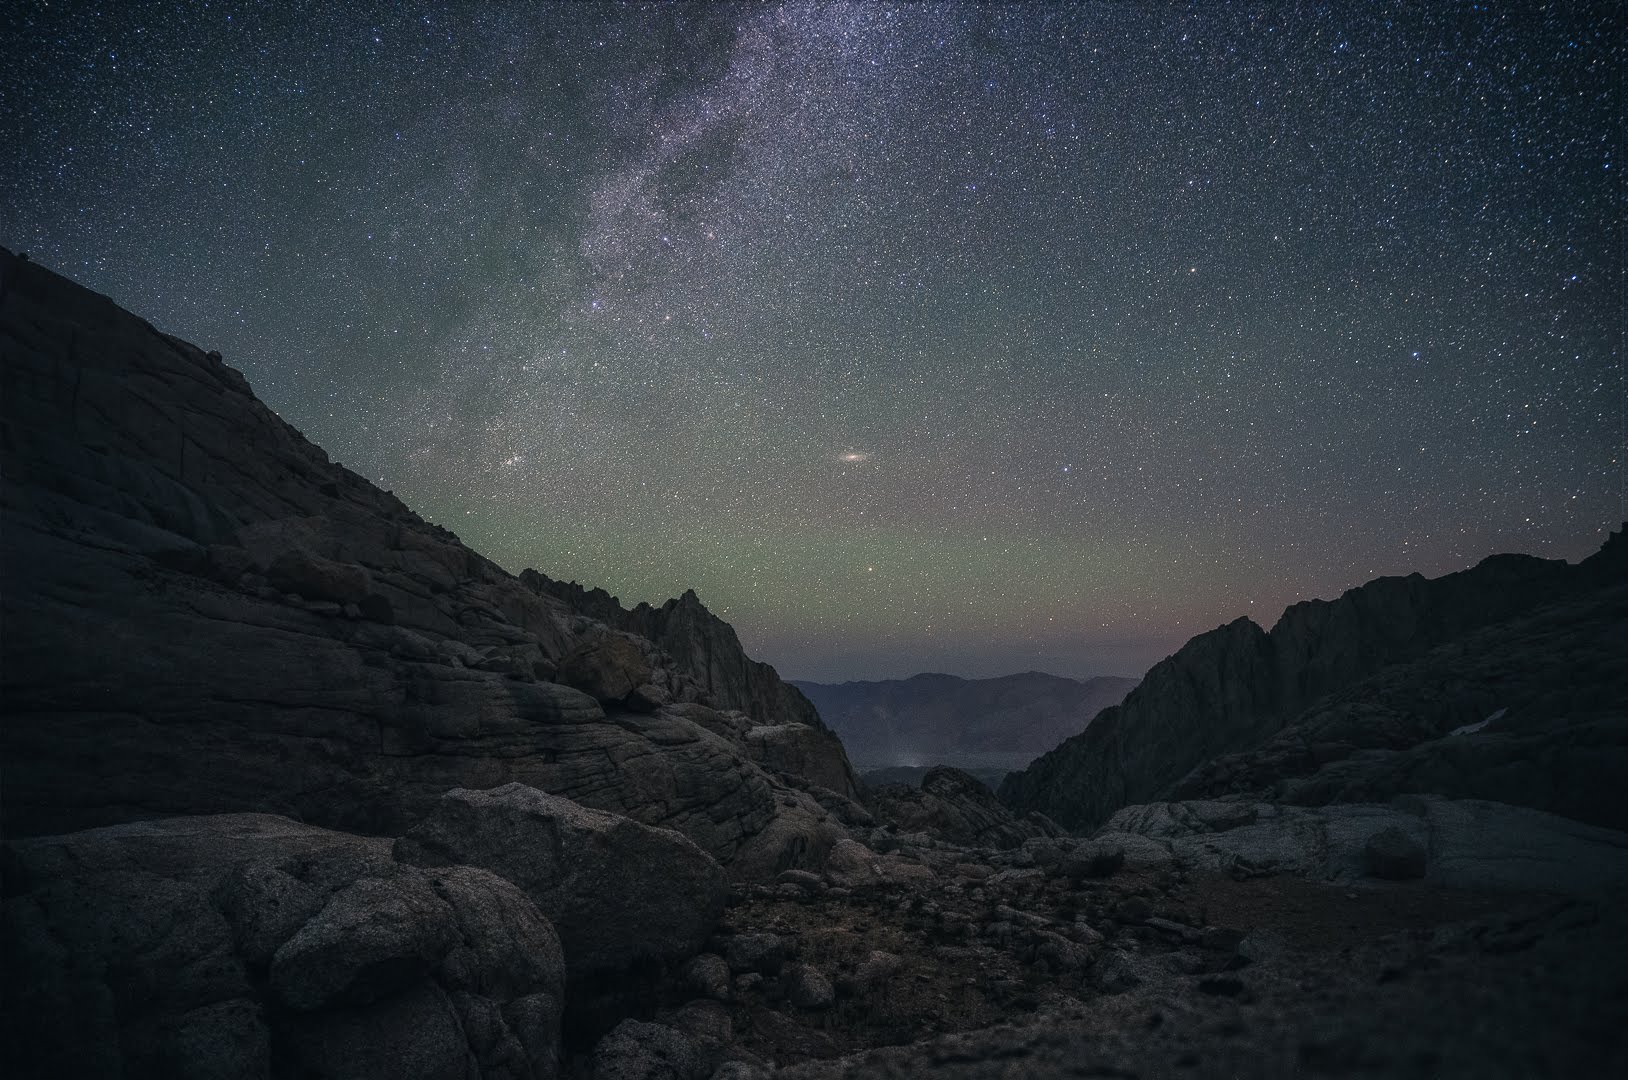
The Milky Way from Mt Whitney
On our hike back down from the summit to camp on Day 2, we stopped along the trail so Ian could do some Milky Way photography.
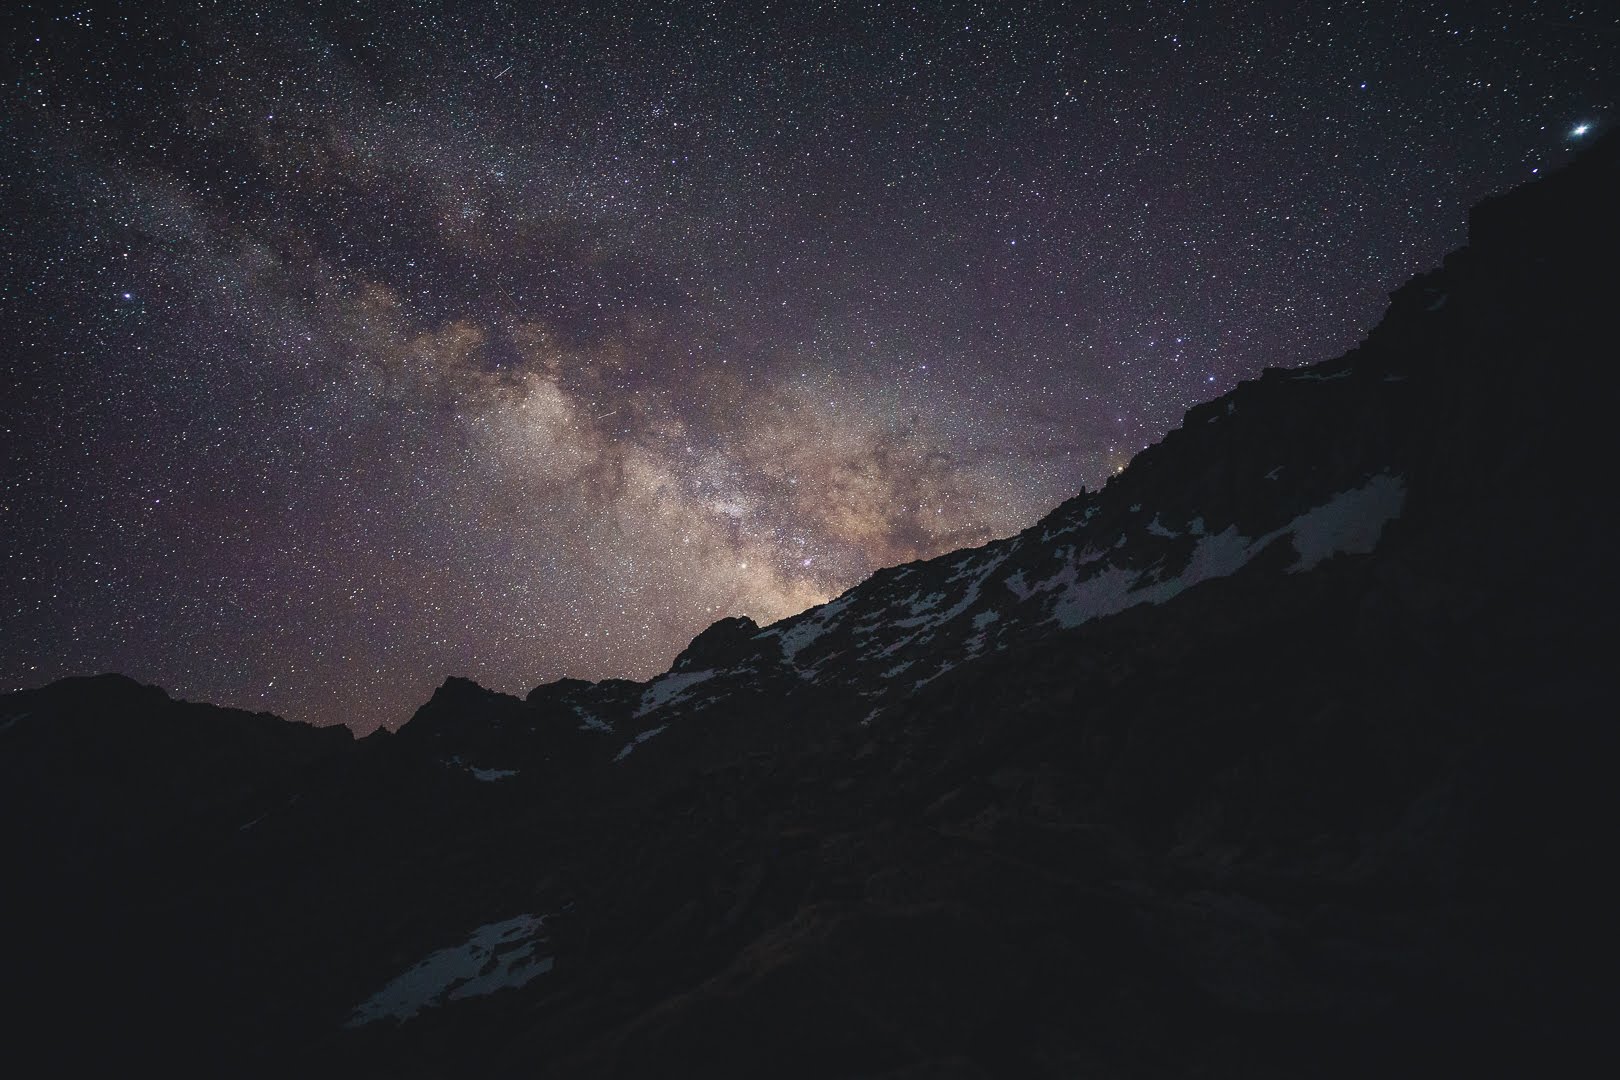
About ten minutes after we stopped, the sudden sound of rocks shuffling in the nearby creek startled us into a swift and noisy pack-up process and an even noisier and quicker descent.
We didn’t want to sneak up on any bears as much as we didn’t want them sneaking up on us!
Post-Summit Thoughts and Planning a Better Hike
A few post-hike thoughts and things that, in hindsight, we could have done better.
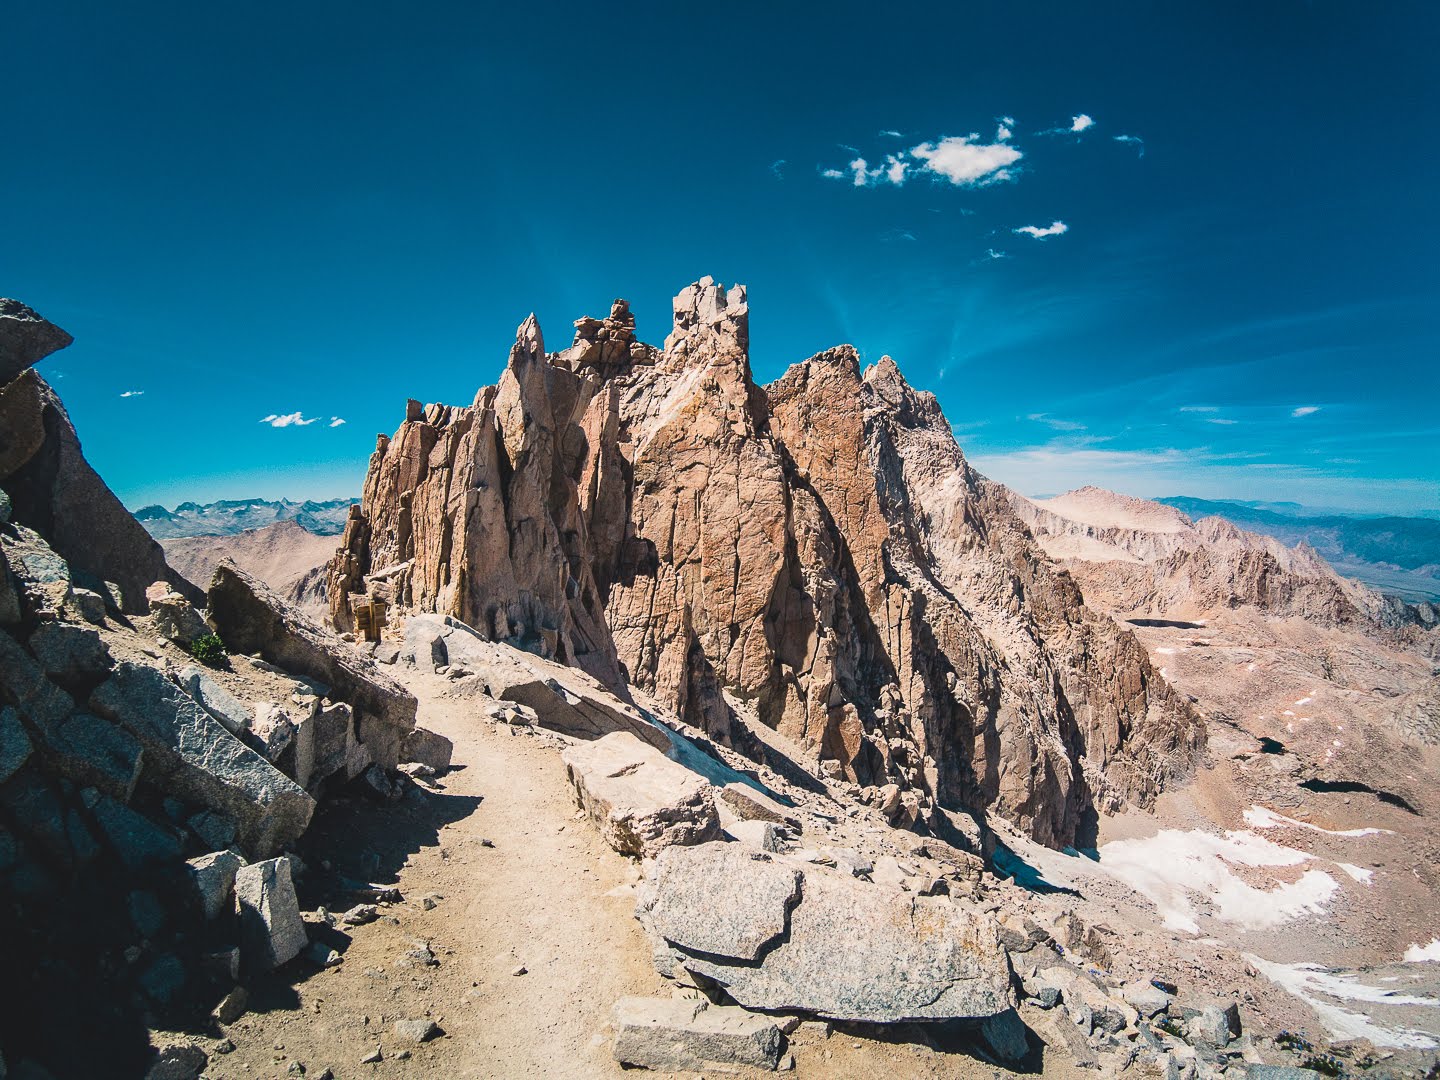
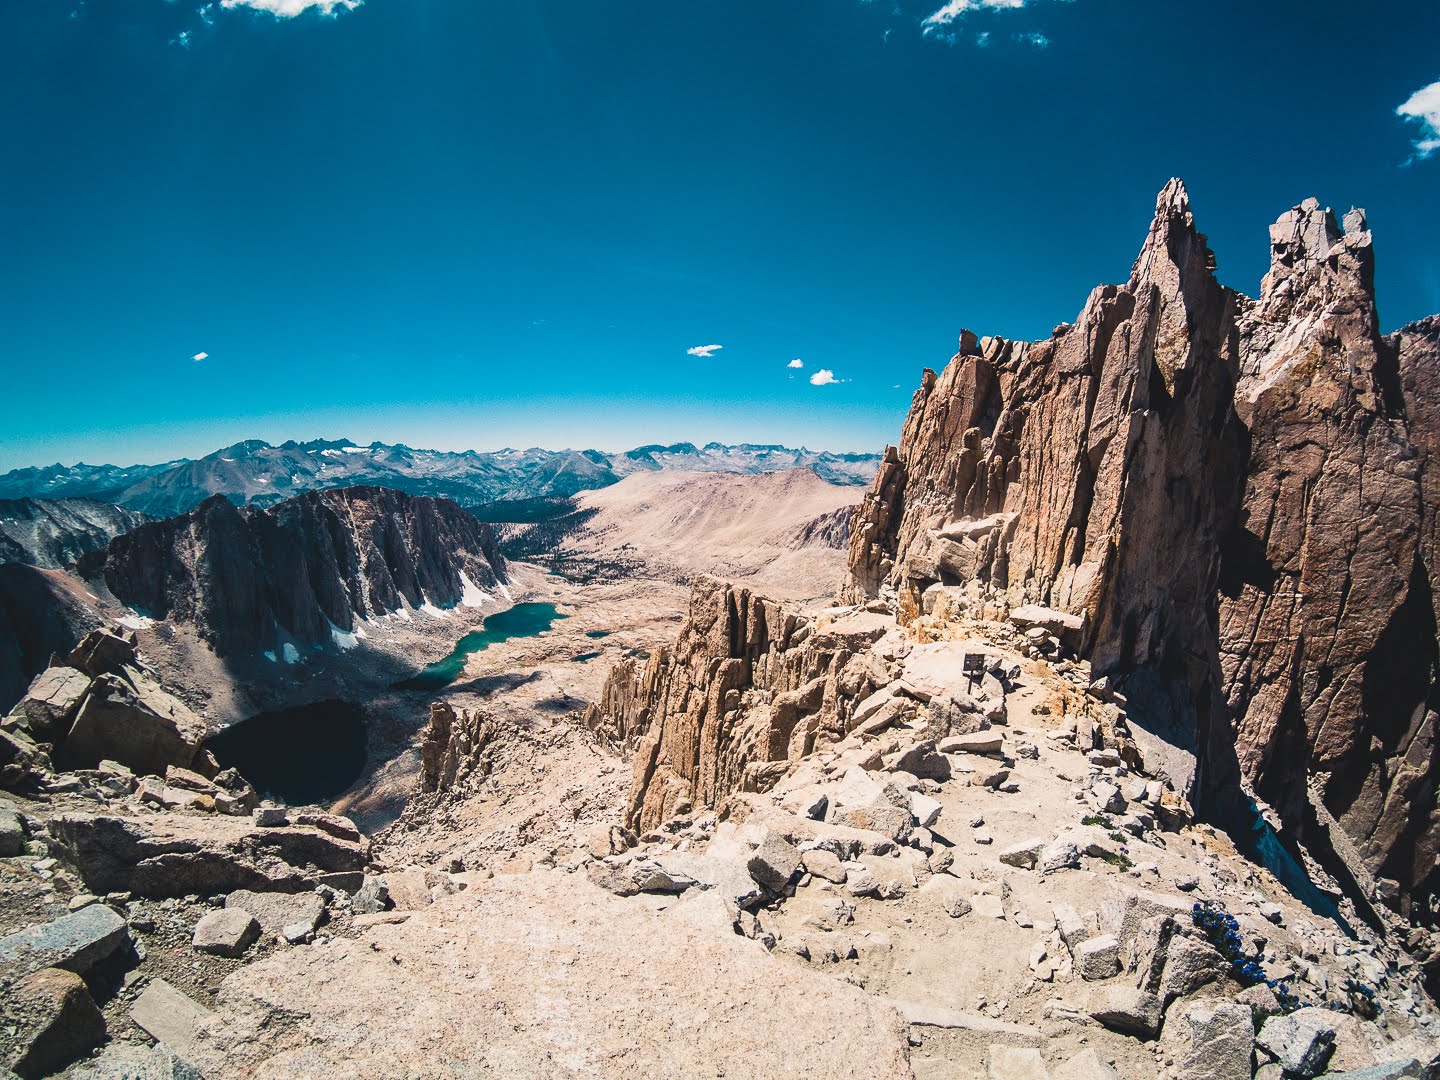
The summit isn’t the best part.
Just a note, for those who may not make it all the way: The best views, in our opinion, are from Trail Crest, right at the spot where you can see out to both sides of the mountains. Summiting was awesome, but more from a ‘feeling accomplished’ sort of angle.
Trail Crest, a.k.a. the finish line of the 99 Switchbacks, was my favorite spot on the entire trail.
Choosing a Campsite Faster
We hiked around for nearly an extra hour trying to find the best legal camping spot at Consultation Lake. We should have skipped the search and stopped at the first lake-level site we found — or we should have just camped up on the cliffs above the lake to save the extra hiking time and frustration required to camp down by the lake.
A Request for Future Hikers: Be Responsible!
Wouldn’t it be great if everyone left the trail as nice as, or better than, they found it?
When you hike the Mt Whitney Trail, you’ll probably come across at least one abandoned poo bag. (This is a ‘leave no trace’ hike, and wilderness poo bags are provided.)
Don’t be part of the problem! If you’re lucky enough to get a Mt Whitney Trail hiking permit, don’t ruin other hikers’ experiences by leaving your poo behind. (Intending to retrieve it later is no excuse, either, so don’t even think about it!) One exception to this: You can stash your used bag temporarily at your campsite if you’re on a multi-day permit (just make sure you’ve got a bag with you, to use if necessary, at all times) — and pack it out when you leave!
Starting Our Summit Day Earlier
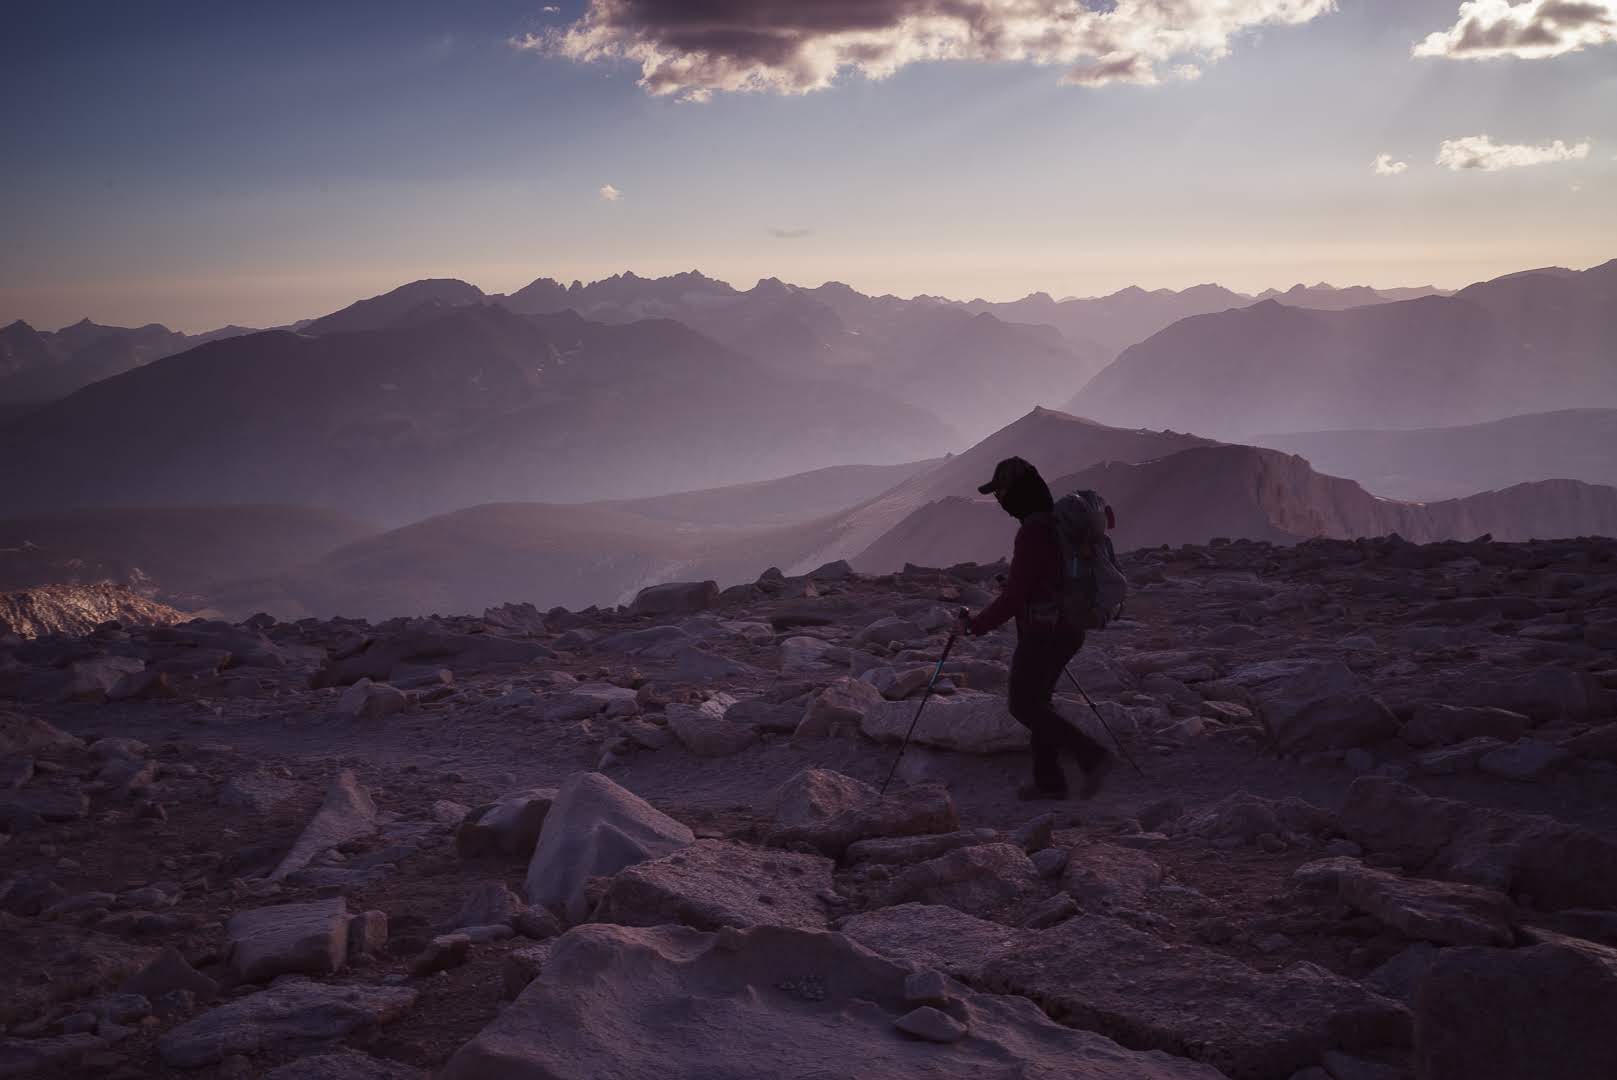
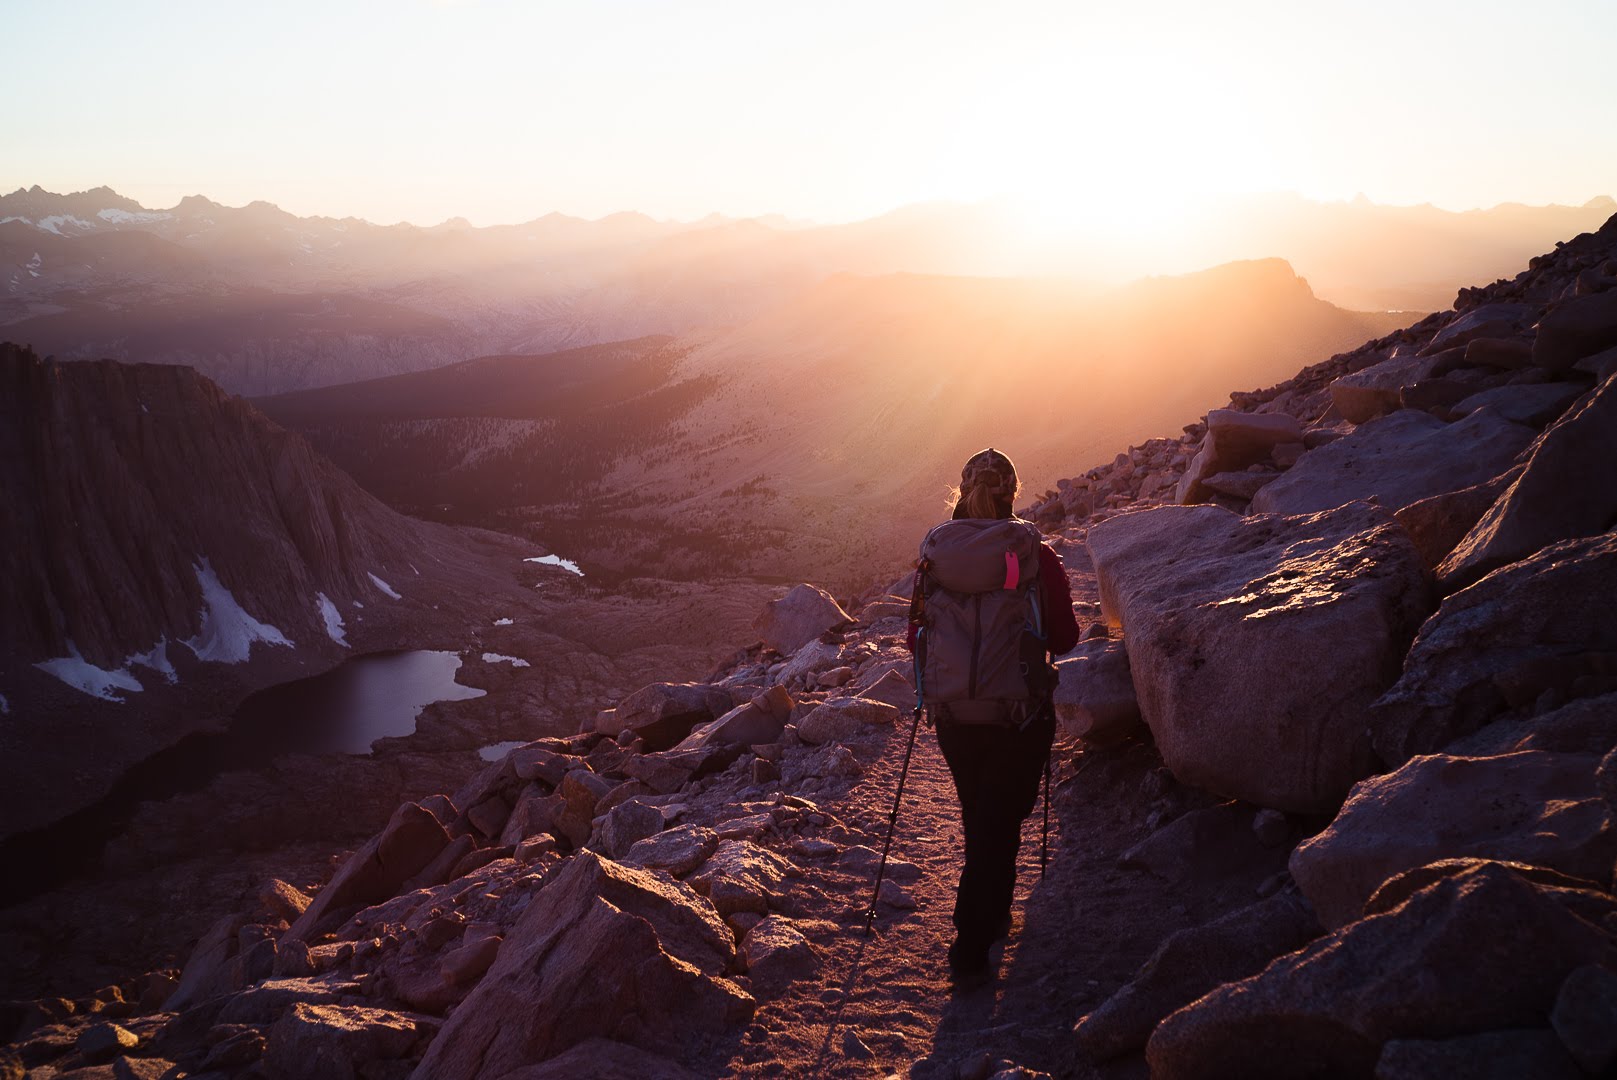
If we’d started hiking earlier on day 2, we could have been descending the switchbacks in daylight, which would have been much easier, faster, and less dangerous. I’d aim for a 6am (or earlier) start if we did it again.
We did, however, have some pretty unique scenery on our hike down.
Nixing the “Rest” Day… Maybe.
While taking a rest day turned out to be an ideal itinerary for us and our photography, I wouldn’t necessarily recommend this to everyone. And I don’t think it really did us much good as far as resting goes. That’s why I decided to call this post “Mt Whitney in 3 Days” rather than 4. We did have a really nice time hanging out at the lake, making good use of the photography gear we’d brought with us. We enjoyed watching the marmots climbing around on the rocks and the fish swimming through the shallow water next to the lake. But to be honest, I don’t sleep very well outdoors. I still had a headache on Day 3 which made our “rest day” less than restful, and I was starting to run low on Ibuprofen. And though we did pack food for four days, I still wish we’d packed more, as I would have loved to eat more on Day 3 but wanted to make sure we’d have enough for our last hiking day on Day 4. If you’re not into photography, don’t do well for extended periods outdoors, or don’t have some other reason why you’d like to camp a day longer, I’d recommend making the trek down on Day 3 if you can.
Pre-Hike Acclimation
Instead of taking the rest day mid-trip, I think we would have done better to spend a day or two camping at Whitney Portal before our permit entry date, acclimating to the altitude.
Whitney Portal Campground (8.4k ft) is at a considerably higher elevation than the town of Lone Pine (3.7k ft), where we spent the night before our trip. Sleeping at Whitney Portal (and/or completing some shorter acclimation hikes) would likely have helped to lessen our experience with altitude sickness.
Packing More Food
I can’t even put into words how crazy hungry I would get throughout the duration of this hike. I seemed to be even hungrier than Ian. We didn’t run out of food, but next time I’d bring more energy bars and gummies.
Better Sun Protection
The sun is brutal at high altitude. Even with our SPF 50 sunscreen applied every two hours, I was still getting too much sun. I didn’t actually get sunburnt — anywhere other than the inside of my ears — but the constant exposure to the sun was physically draining and surely wasn’t helping my headaches.
Next time we go high-altitude hiking, I plan to invest in some better sunwear — including something that covers my face, neck and ears!
More From Our Mt Whitney Hike
Next I’ll be sharing our Mt Whitney packing list, explaining what we shopped for at our favorite outdoor store and why, what we took that was excessive, and what we needed that we didn’t have. Thanks for reading, and stay tuned!
[mc4wp_form id=”9400″]
Thank you for publishing this it is very informative. I have a trip planned in July. How physical conditioning would you suggest?
Hi Chris, thanks for reading, and asking!
It’s a long hike and the elements can be brutal up there, so being in good physical shape is important. There are also lots of stairs and long stretches of awkward footing across rocks, both of which can be rough on knees if you’re not in good shape. If you’re not a frequent hiker, I recommend starting ASAP to get some conditioning in before your summer trip. If you do hike regularly, just keep in mind that the high altitude can feel terrible even for people in great shape, so planning for that possibility is just as important as physical fitness.
I hope you have an amazing time! Let me know if you have any other questions.
Hi!
Thanks so much for sharing. Quick question. On Day 1 you guys got the the portal at 7:30am. Was there enough parking??
Thank you!
Hi Krisztina – Thanks for reading! Yes, there was enough parking when we arrived in the morning. The lot was maybe 60-70% full. I hope that helps! Happy trekking. 🙂
-Diana
Hi! My husband and I just got awarded permits for this fall. I was doing some research and came across your blog. I was just wondering if you left your gear before summiting Whitney or did you take everything up to the top with you?
Thanks so much!
Hi Brianna,
Congrats on getting a permit! We left most of our camping gear at our campsite on the day we summited and only took what we needed — layers of clothing, food, sunscreen, camera, etc. When we picked up our permit, the ranger recommended to us that we actually leave our tent unzipped while we were gone, too. Apparently marmots will chew through your tent to get inside and explore. 🙂
Have an awesome trip!
This was a great article, thank you very much. I know it’s a long shot 6 years too late, but do you happen to have a GPX file of the hike and campsite on Consultation Lake?
CR